Pi Coding Agent with Devcontainer, Docker Model Runner and Agentic Compose
Introduction: “Tiny Language Models” and CLI coding agents
So, it is entirely possible to use a very small language model with the Qwen Code CLI. But it’s totally useless because the Qwen Code CLI sends system instructions to the agent with each request, and these system instructions are very long. So, your small model will struggle to digest all of this, it will be slow, and context compression will be triggered very quickly, or you’ll get a context overflow error from the first request:
[API Error: 400 the request exceeds the available context size, try increasing it]
Your only option is to increase your model’s context size, but this will only partially solve the problem. And you’ll have deplorable response times: close to 3 minutes to generate a simple “Hello World” in Go, and 24,000 tokens…
However, if you still want to do this for fun, it’s possible, you can take a look at this repository: qwen-code-devcontainer
With a “good” machine and a more powerful agent like Qwen3-Coder-30B-A3B-Instruct-GGUF it makes more sense, but I don’t have that “beefy” machine.
Anyway, in my quest to find useful use cases for “Tiny Language Models”, I have the choice between coding my own agent CLI, or using an existing agent CLI that’s not too context-hungry, or even one that lets you customize the system instructions sent to the agent.
And that’s when I discovered the Pi Mono project thanks to this article Pi: The Minimal Agent Within OpenClaw by Armin Ronacher.
Pi Mono: a minimalist and customizable coding agent
Pi is a minimalist command-line coding agent, with as little complexity and magic as possible. It’s developed by Mario Zechner. To better understand the design choices and philosophy behind Pi, I recommend reading this article by Mario: What I learned building an opinionated and minimal coding agent.
Here’s a quick summary: pi is a CLI tool that can communicate with LLM engines or AI platforms (Anthropic, OpenAI, Google, etc.) via a unified API (pi-ai). It provides an “agent loop” (pi-agent-core) and a TUI (pi-tui) for a chat/terminal interface.
Mario Zechner wants a tool where he has precise control over the context sent to the model (that works for me too), can inspect all requests/responses, and has a simple session format for post-processing.
The operating mode is simple and effective.
Operating mode as a coding agent
- Ultra-short system prompt: “expert coding assistant” + description of 4 tools (
read,write,edit,bash) and some guidelines, withAGENTS.mdinjected at the end for customization. - Minimal default toolset:
read(file reading, including images),write(writes/overwrites a file),edit(surgical replacements “oldText → newText”),bash(shell command in the cwd, with stdout/stderr).
- Multi-provider and multi-model during session: you can switch models or providers while keeping the same serialized context.
Positioning and architecture choices
- YOLO by default: no built-in guardrails, no confirmations, full access to the file system and
bash; security is considered to be managed via the environment (container, sandbox, …), not via prompts or interactive permissions. 👋 WE’RE GOING TO RUN EVERYTHING IN CONTAINERS 🤓. - No internal to-dos, no “plan mode”, no MCP, no “background bash”, no integrated sub-agents.
- MCP-type extensions are replaced by a “CLI scripts + Instructions” philosophy: the model reads the instructions when needed, then calls the scripts via
bash.
✋ There is a mechanism for skills and prompt templates, but that will be the subject of future articles. Today, let’s focus on how to prepare a devcontainer project structure to run Pi Mono in a Docker container.
I think I’ve found the ideal candidate to work with my Tiny Language Models 🎉. So, let’s go!
Objective: running Pi with Docker Model Runner and Devcontainer
First, an important thing to know to run Pi with a small language model is that your model must support tools (function calling), and not all small models support it, or support it poorly. But some stand out from the crowd, like Jan Nano for example. Or if you want to use a more code-oriented model, there’s Qwen2.5-Coder-7B-Instruct-GGUF (don’t try the 3b version, the tools won’t work). We’ll use both. And switch from one to the other depending on our needs.
Configuring Pi in our project
You need to create a .pi folder at the root of your project, with the following structure:
.pi
└── agent
    ├── AGENTS.md
    ├── models.json
    └── settings.json
In terms of file content, we’ll have:
AGENTS.md:
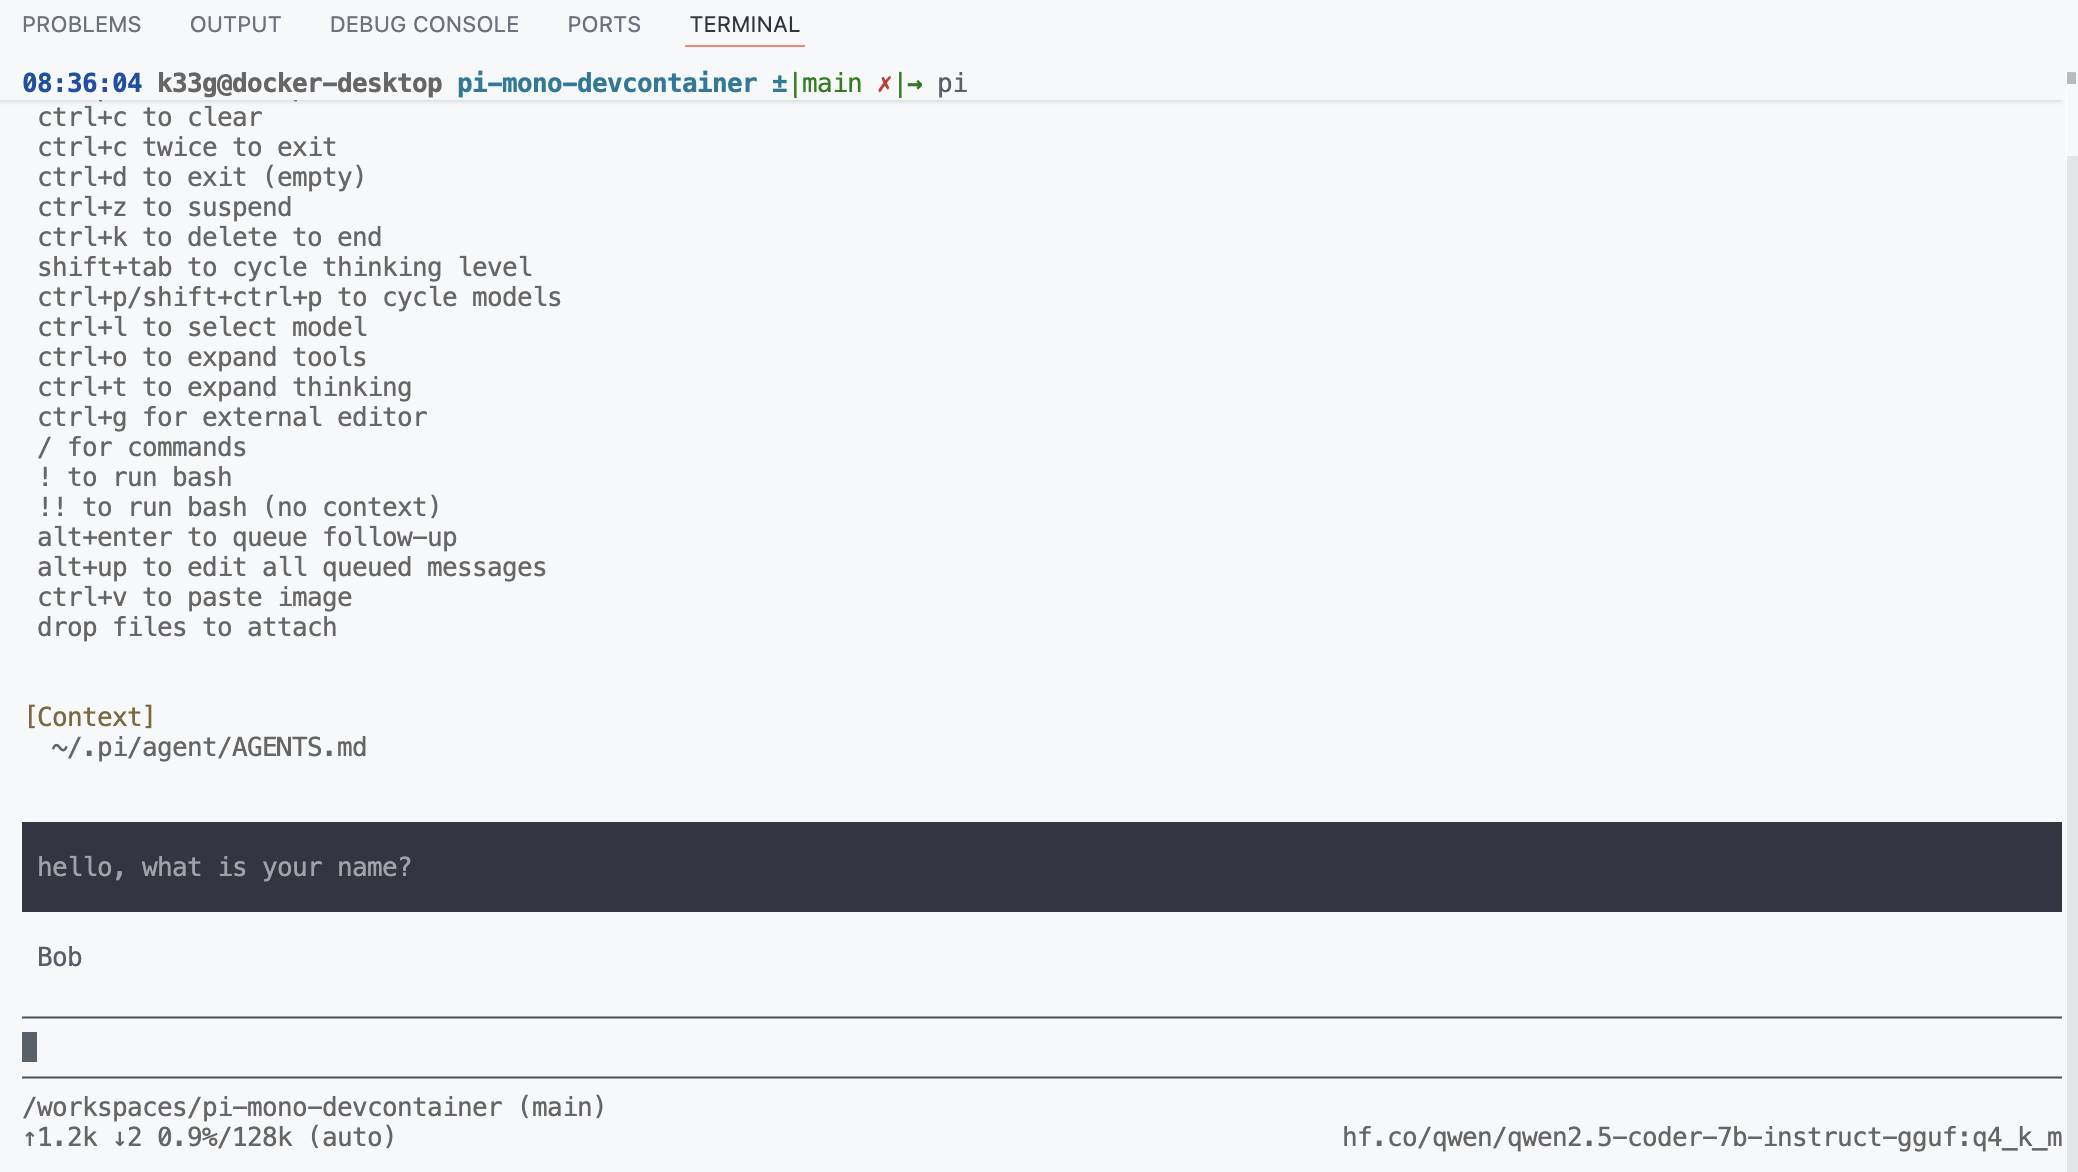
You are an expert in software development. Your name is Bob.
Yes, I know I could have put more thought into it 😂
Next, you need to define a provider in the models.json file so that Pi can communicate with Docker Model Runner:
models.json:
{
  "providers": {
    "dockermodelrunner": {
      "baseUrl": "http://model-runner.docker.internal/engines/v1",
      "api": "openai-completions",
      "apiKey": "hello",
      "models": [
        { "id": "hf.co/qwen/qwen2.5-coder-7b-instruct-gguf:q4_k_m" },
        { "id": "hf.co/menlo/jan-nano-gguf:q4_k_m" }
      ]
    }
  }
}
dockermodelrunneris the provider name, you can change it if you want.baseUrlis the URL of your Docker Model Runner instance. We usemodel-runner.docker.internalbecause we’re going to run Pi in a Docker container, and this will allow it to communicate with the host and therefore Docker Model Runner.apiis the type of API we’re going to use to communicate with Docker Model Runner, in our case, we’re going to use the OpenAI-type completions API because Docker Model Runner exposes an OpenAI-compatible API.apiKeyyou can put whatever you want, Docker Model Runner doesn’t need it.modelsis the list of models you want to use with this provider.
Finally, we’ll define our agent’s settings:
settings.json:
{
  "defaultProvider": "dockermodelrunner",
  "defaultModel": "hf.co/qwen/qwen2.5-coder-7b-instruct-gguf:q4_k_m"
}
Now that we’ve configured our agent, we can move on to the next step, which is running Pi in a Docker container and making it communicate with Docker Model Runner.
Dockerizing the project with Devcontainer
Still in the project, at the root, you need to create a .devcontainer folder with the following files:
.devcontainer
├── compose.yml
├── devcontainer.json
└── Dockerfile
Contents of the Dockerfile
Let’s first look at the contents of the Dockerfile. For my project, I chose to use an ubuntu base image and install the tools I needed myself, including the Golang toolchain. You’ll adapt it to your needs, but you should keep in mind that you’ll absolutely need to install NodeJS and npm to be able to install and run Pi, as well as the tools that Pi might need to function (like curl for example). So, here’s the content of my Dockerfile:
FROM --platform=$BUILDPLATFORM ubuntu:22.04

LABEL maintainer="@k33g_org"
ARG TARGETOS
ARG TARGETARCH

ARG USER_NAME=vscode

ARG GO_VERSION=1.25.5
ARG NODE_MAJOR=22
ARG PI_MONO_VERSION=0.52.12

ARG DEBIAN_FRONTEND=noninteractive

ENV LANG=en_US.UTF-8
ENV LANGUAGE=en_US.UTF-8
ENV LC_COLLATE=C
ENV LC_CTYPE=en_US.UTF-8

RUN <<EOF
apt-get update
apt-get install -y curl wget jq git build-essential xz-utils software-properties-common sudo sshpass unzip

apt-get install -y fd-find ripgrep
ln -s $(which fdfind) /usr/local/bin/fd
ln -s $(which ripgrep) /usr/local/bin/rg

apt-get clean autoclean
apt-get autoremove --yes
rm -rf /var/lib/{apt,dpkg,cache,log}/
EOF

# ------------------------------------
# Install Go
# ------------------------------------
RUN <<EOF

wget https://golang.org/dl/go${GO_VERSION}.linux-${TARGETARCH}.tar.gz
tar -xvf go${GO_VERSION}.linux-${TARGETARCH}.tar.gz
mv go /usr/local
rm go${GO_VERSION}.linux-${TARGETARCH}.tar.gz
EOF

# ------------------------------------
# Set Environment Variables for Go
# ------------------------------------
ENV PATH="/usr/local/go/bin:${PATH}"
ENV GOPATH="/home/${USER_NAME}/go"
ENV GOROOT="/usr/local/go"

RUN <<EOF
go version
go install -v golang.org/x/tools/gopls@latest
go install -v github.com/ramya-rao-a/go-outline@latest
go install -v github.com/stamblerre/gocode@v1.0.0
go install -v github.com/mgechev/revive@v1.3.2
EOF

# ------------------------------------
# Install NodeJS
# ------------------------------------
ARG NODE_MAJOR
RUN <<EOF
apt-get update && apt-get install -y ca-certificates curl gnupg
curl -fsSL https://deb.nodesource.com/setup_${NODE_MAJOR}.x | bash -
apt-get install -y nodejs
EOF

# ------------------------------------
# Install pi-coding-agent globally
# ------------------------------------
RUN npm install -g @mariozechner/pi-coding-agent@${PI_MONO_VERSION}

# ------------------------------------
# Create a new user
# ------------------------------------
# Create new regular user `${USER_NAME}` and disable password and gecos for later
# --gecos explained well here: https://askubuntu.com/a/1195288/635348
RUN adduser --disabled-password --gecos '' ${USER_NAME}

#  Add new user `${USER_NAME}` to sudo group
RUN adduser ${USER_NAME} sudo

# Ensure sudo group users are not asked for a password when using
# sudo command by ammending sudoers file
RUN echo '%sudo ALL=(ALL) NOPASSWD:ALL' >> /etc/sudoers

# Set the working directory
WORKDIR /home/${USER_NAME}

# Set the user as the owner of the working directory
RUN chown -R ${USER_NAME}:${USER_NAME} /home/${USER_NAME}

# Switch to the regular user
USER ${USER_NAME}

# Avoid the message about sudo
RUN touch ~/.sudo_as_admin_successful

# ------------------------------------
# Install OhMyBash
# ------------------------------------
RUN <<EOF
bash -c "$(curl -fsSL https://raw.githubusercontent.com/ohmybash/oh-my-bash/master/tools/install.sh)"
EOF
About:
apt-get install -y fd-find ripgrep: these two tools are used by pi-mono agent.
Contents of the compose.yml
Next, we’ll define the contents of the compose.yml file which will allow us to run our Docker container with Pi and make it communicate with Docker Model Runner. Here’s the content of my compose.yml:
services:

  pi-mono-workspace:
    build:
      context: .
      dockerfile: Dockerfile
    network_mode: "host"
    volumes:
      - ../..:/workspaces:cached
      - ../.pi/agent:/home/vscode/.pi/agent
    command: sleep infinity

    models:
      jan-nano:
        endpoint_var: ENGINE_URL
        model_var: JAN_MODEL_ID

      qwen2.5-coder-7b:
        endpoint_var: ENGINE_URL
        model_var: QWEN_7B_MODEL_ID

models:

  jan-nano:
    model: hf.co/menlo/jan-nano-gguf:q4_k_m
    context_size: 16384

  qwen2.5-coder-7b:
    model: hf.co/qwen/qwen2.5-coder-7b-instruct-gguf:q4_k_m
    context_size: 16384
Defining the models in the
compose.ymlfile is not mandatory, but it ensures they’ll be downloaded and ready to use when the container starts if you haven’t done it manually beforehand.
Contents of the devcontainer.json
This one works for me, feel free to adapt it to your needs, especially regarding the extensions you want to install in your container:
devcontainer.json:
{
  "name": "Pi Mono Workspace",

  "dockerComposeFile": "compose.yml",
  "service": "pi-mono-workspace",
  "workspaceFolder": "/workspaces/${localWorkspaceFolderBasename}",
  "customizations": {
    "vscode": {
      "extensions": [
        "pkief.material-icon-theme",
        "pkief.material-product-icons",
      ]
    }
  },
  "remoteEnv": {
    "LOCAL_WORKSPACE_FOLDER": "${localWorkspaceFolder}",
    //"MODEL_RUNNER_HOST": "http://model-runner.docker.internal",
  },
  //"forwardPorts": [3000],
  "mounts": [
    "source=/var/run/docker.sock,target=/var/run/docker.sock,type=bind",
    "source=${localEnv:HOME}${localEnv:USERPROFILE}/.gitconfig,target=/home/vscode/.gitconfig,type=bind,consistency=cached",
    "source=${localEnv:HOME}${localEnv:USERPROFILE}/.ssh,target=/home/${localEnv:USER}/.ssh,type=bind,consistency=cached"
  ],
  "remoteUser": "vscode",
  // Run commands after the container is created.
  "postCreateCommand": "sudo chmod 666 /var/run/docker.sock;"
}
There you go, now we have everything we need to start our experiments.
Using Pi in our Devcontainer project
Open the project in VSCode with Devcontainer. The first time, grab yourself a coffee ☕️, the build may take a while.
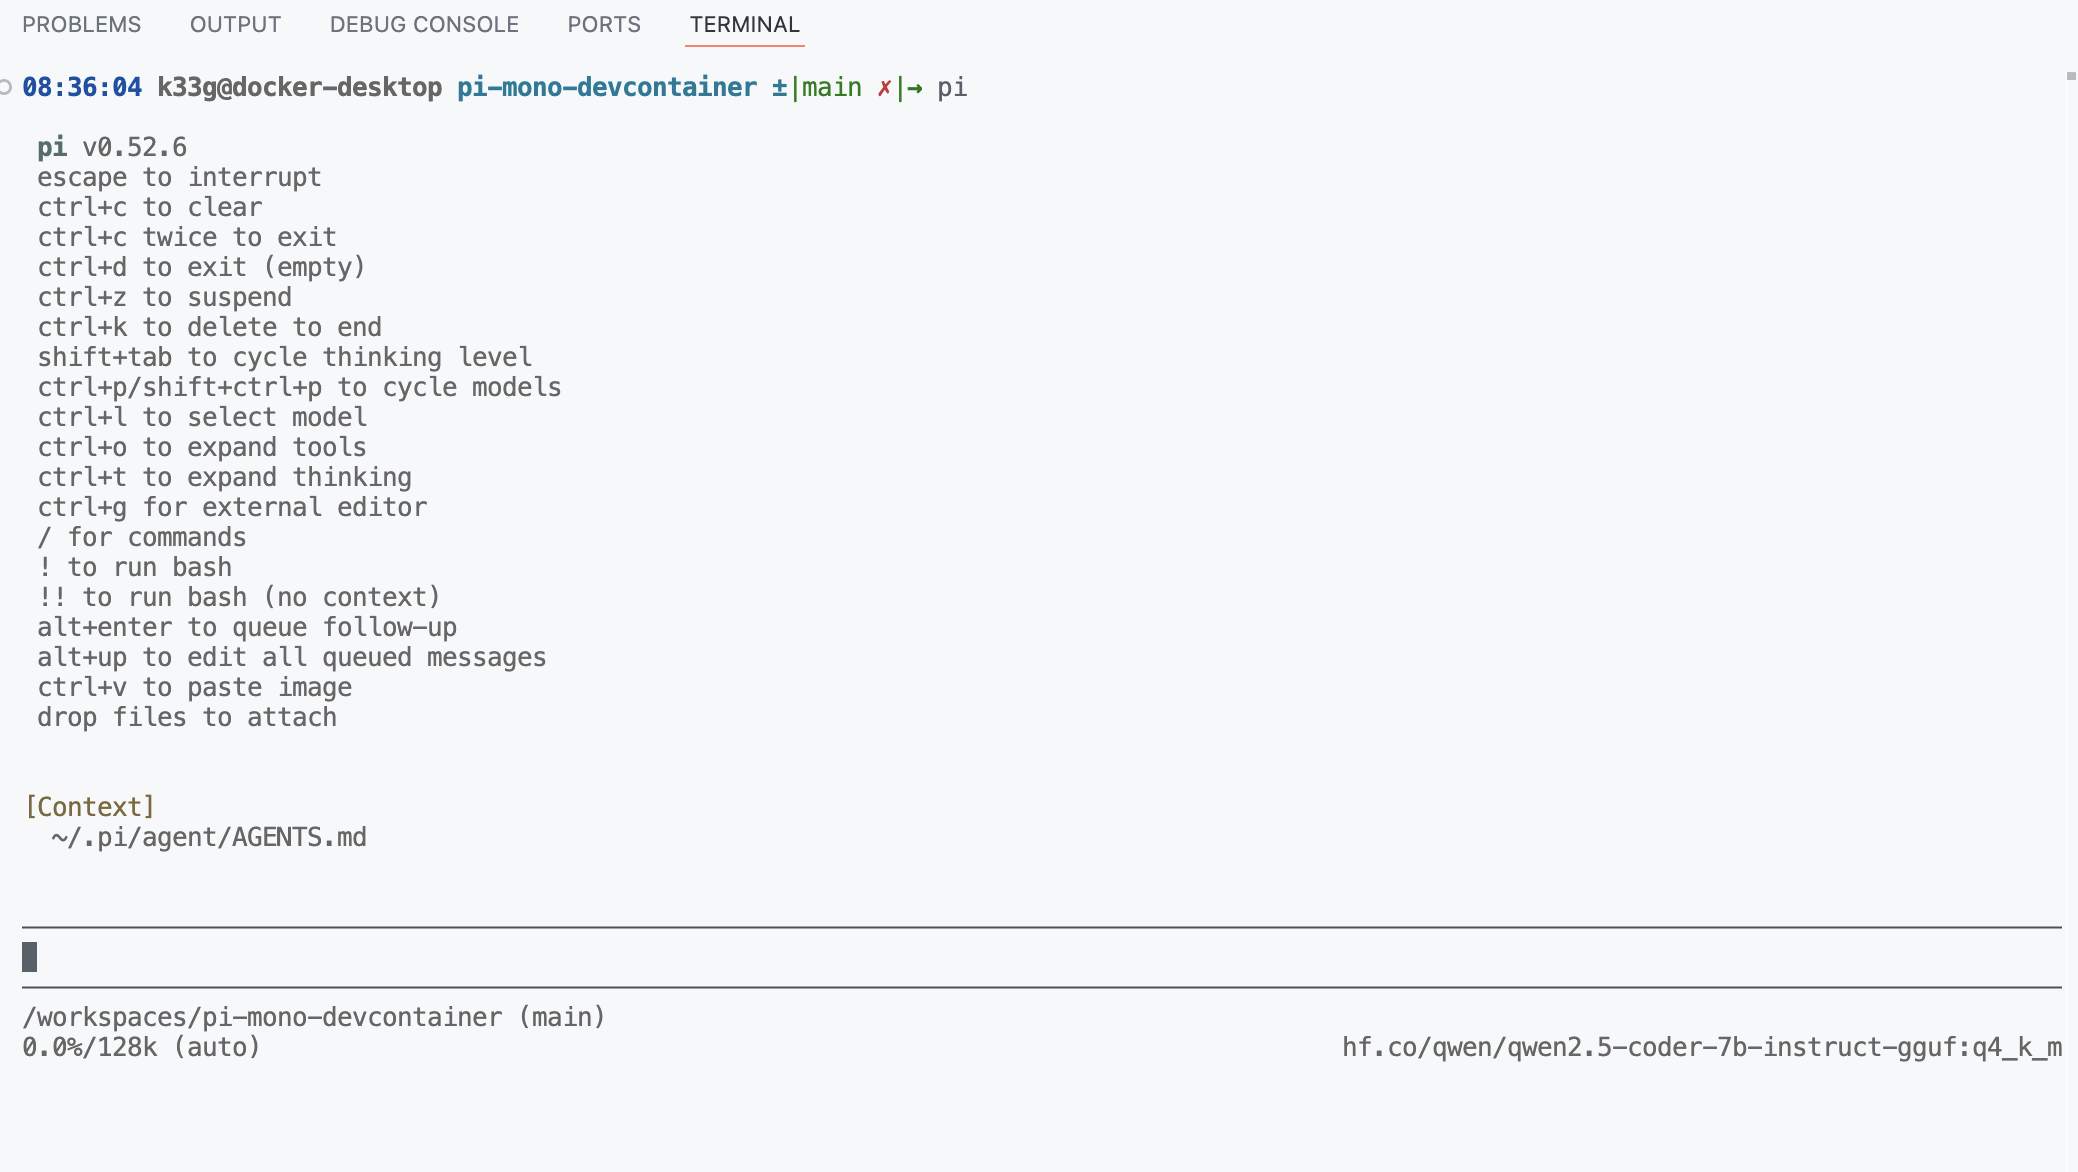
Then in a terminal, run the pi command to start Pi and begin asking questions:
Start by asking its name to verify that the AGENTS.md file is being taken into account:
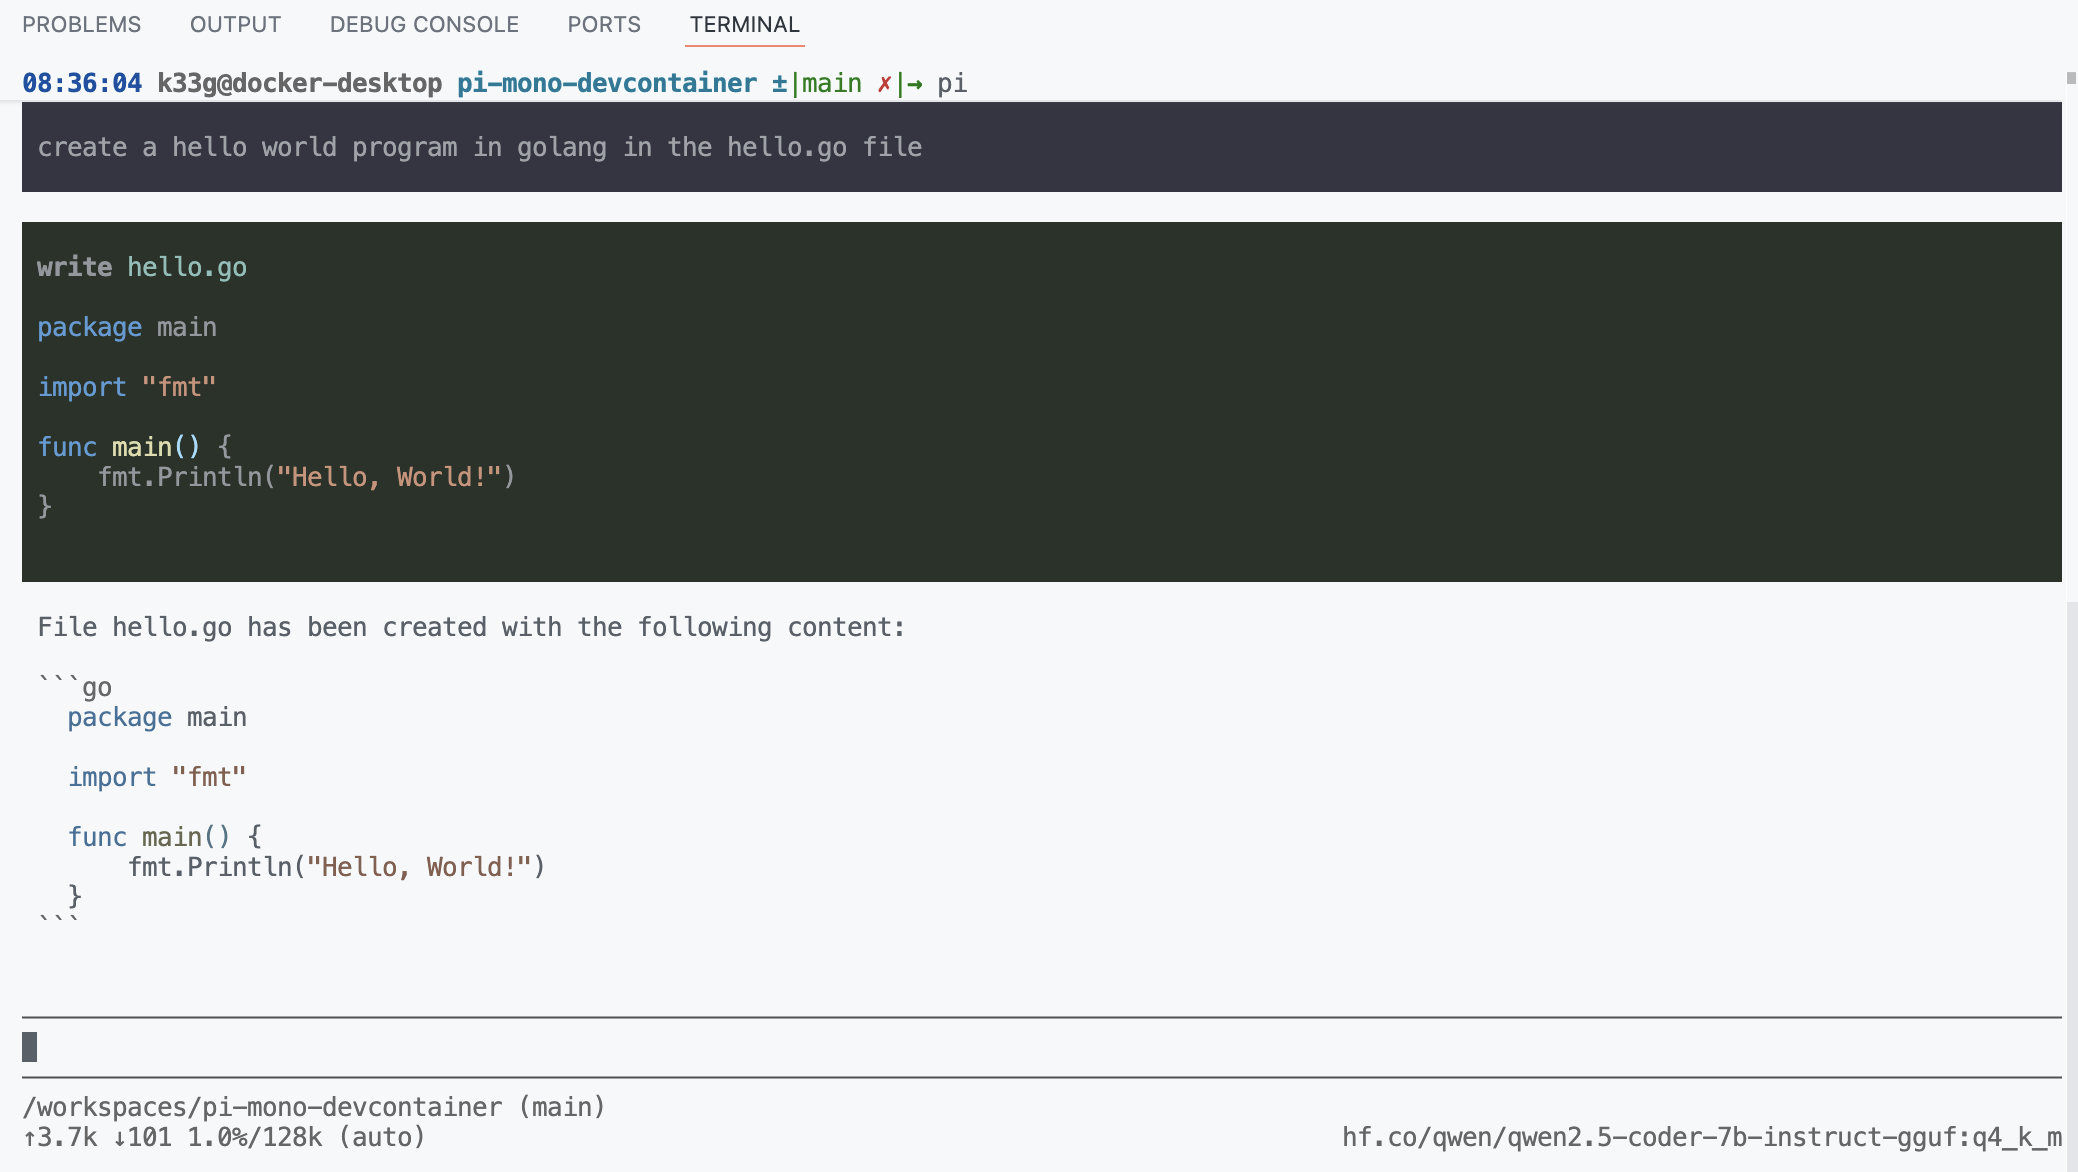
Then ask it to generate a simple “Hello World” in Go and run it to test that the tools are working correctly:
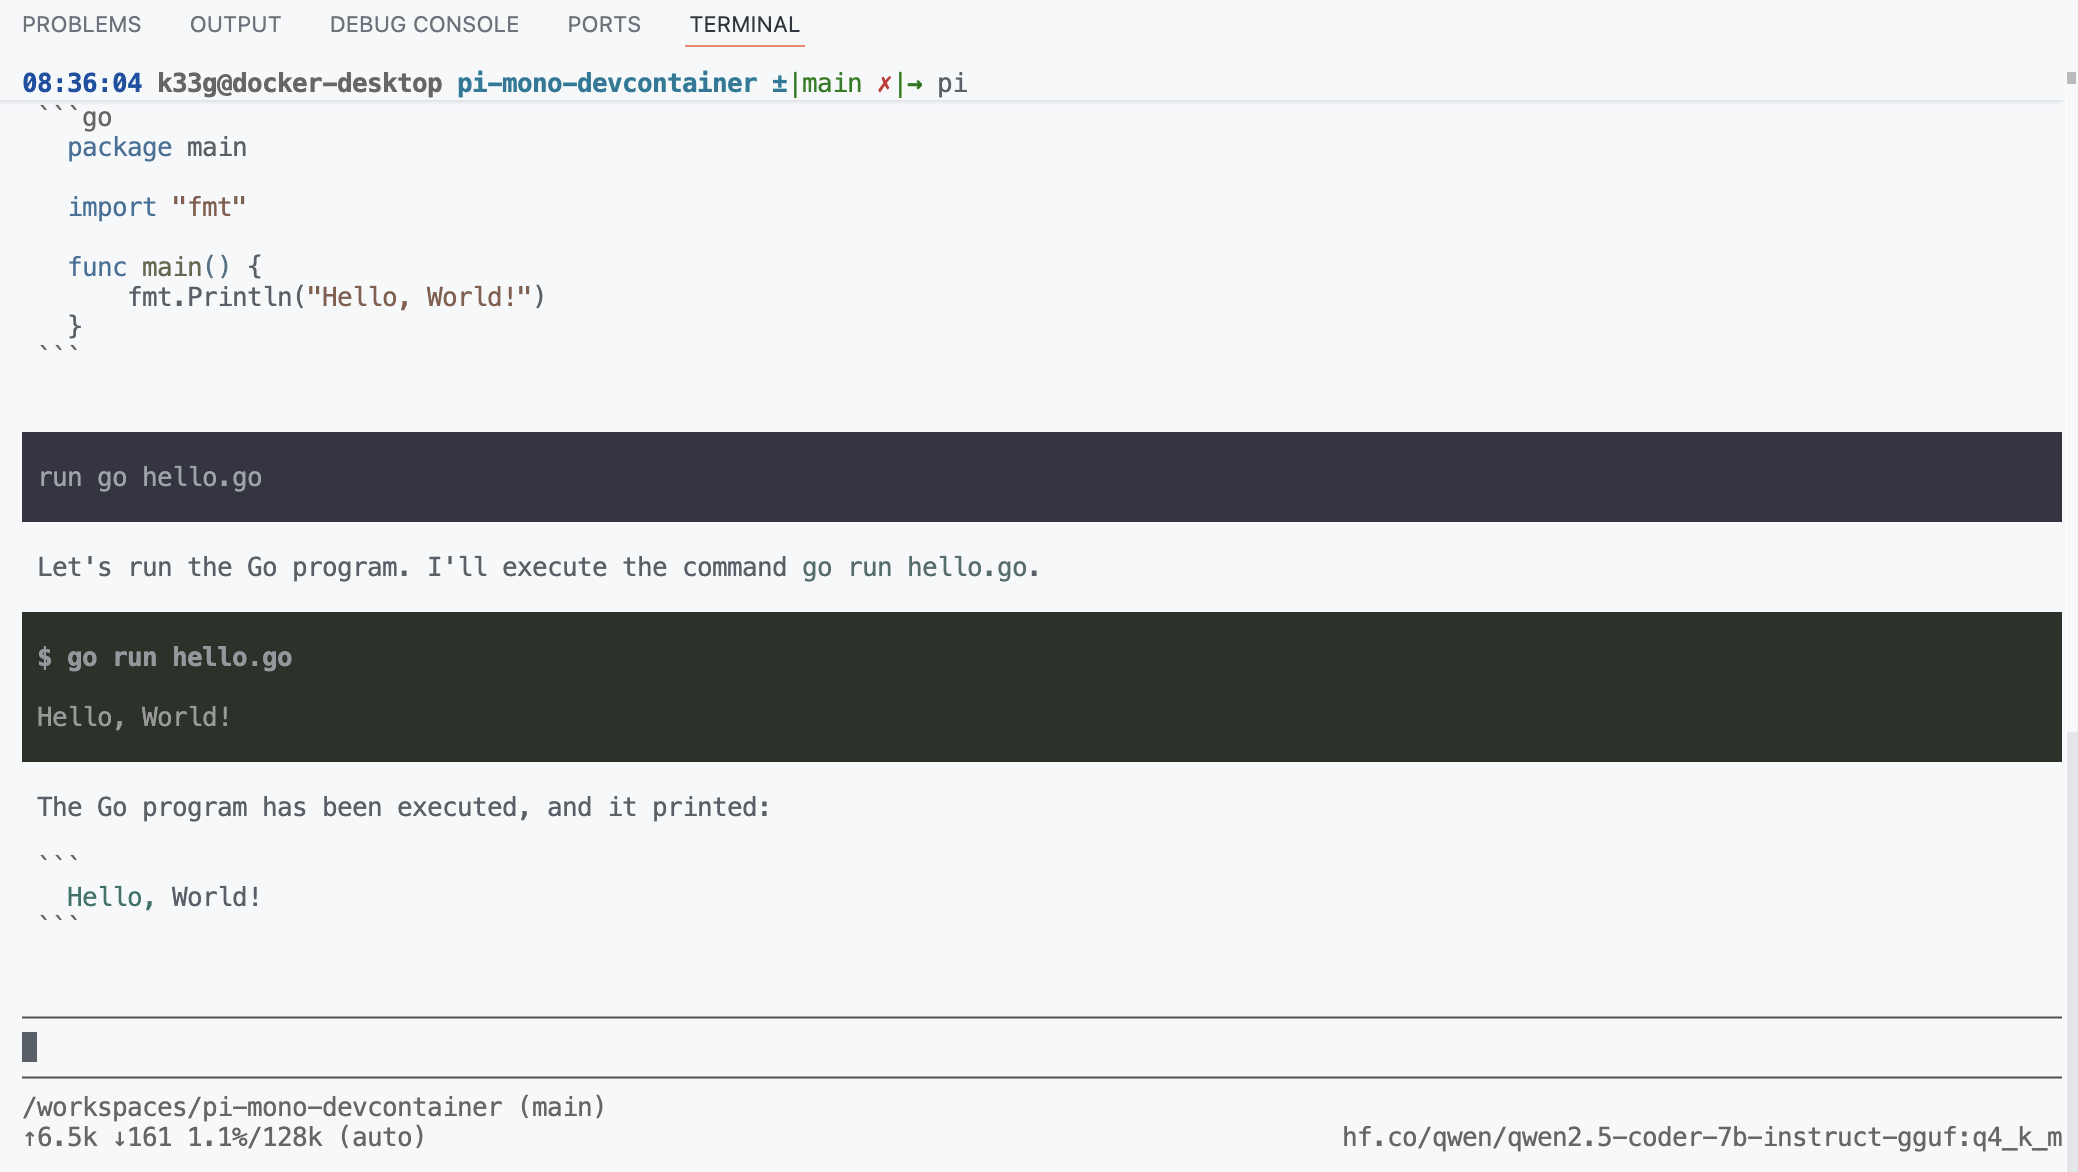
🎉 ok, for a first contact that’s pretty good. I’ll let you familiarize yourself with Pi and in future articles we’ll see how to go further. Happy coding! 👋🤓
✋ You’ll find all the code from this article in this repository: pi-mono-devcontainer. Feel free to take a look and use it as a base for your own experiments with Pi Mono and Tiny Language Models!