Using cagent with gpt-oss-120b and OVH AI endpoints
Can we do without Claude Code (and Claude.ai)?
After reading the excellent article OpenCode with Docker Model Runner for Private AI Coding by Ignasi Lopez Luna, I wondered how far an LLM like gpt-oss-120b could take me in terms of code generation good enough to do without Claude Code (and Claude.ai).
To start answering this question, I kicked off a series of experiments that will lead to a series of articles.
Today, my first experiment will use the following components:
- The language model:
gpt-oss-120b.My personal machine, a MacBook Air M4, isn’t powerful enough to run this model locally, so I’ll be using the OVH AI endpoints for my experiments. And once again a huge thank you to Stéphane Philippart 🤗 for making it easy for me to access these OVH AI endpoints and for his support and help with these experiments.
- The coding agent cagent from Docker, which is a highly configurable open source coding agent that you can use with many language model providers (through their APIs) but also with local models. cagent comes with many features (including “skills”) and also with a multi-agent mode.
- And finally, devcontainer in VSCode to run everything inside Docker containers using Docker Compose.
First things first, my setup
Here’s the structure of my VSCode project:
.
├── .agents
│   └── skills
│       └── methodical-dev
│           └── SKILL.md
├── .devcontainer
│   ├── compose.yml
│   ├── devcontainer.json
│   ├── Dockerfile
│   └── ovh.env
├── cagent.yaml
└── README.md
.agents/skills/methodical-dev/SKILL.md: this is a skill I created and that I usually use with Claude Code. You can find it here, in French and English: methodical-dev.devcontainer/: this is the folder containing my devcontainer project configuration along with the Dockerfile containing the necessary elements (tools, compilers, …) to run my workspace, including the installation of cagent.ovh.env: this is the file containing theOVH_API_KEYenvironment variable to access the OVH AI endpoints.cagent.yaml: this is the configuration file to run cagent.
Let’s look at the contents of some of these files (I’ll provide a link to a Codeberg repository at the end of this article so you can easily find and reuse them all).
I always use Docker Compose in my devcontainer projects.
You can find an article about my way of doing devcontainer with Docker Compose here: My Little Arrangements with DevContainer - Part 1.
Devcontainer setup
compose.yml
The compose file is extremely simple. The important point is the env_file section which links to the ovh.env file.
services:

  cagent-workspace:
    build:
      context: .
      dockerfile: Dockerfile
    network_mode: "host"
    volumes:
      - ..:/workspaces:cached
    command: sleep infinity
    env_file:
      - ovh.env
ovh.env
OVH_API_KEY=<your-ovh-api-key>
✋ Don’t forget to create a
.gitignorefile at the root of your project and addovh.envto it to avoid committing your OVH API key.
Dockerfile
These days I mainly work with Go, I also use NodeJS, Docker, Git, … and of course cagent. So here’s the content of my Dockerfile:
FROM --platform=$BUILDPLATFORM docker/cagent:1.23.5 AS coding-agent

FROM --platform=$BUILDPLATFORM ubuntu:22.04 AS base

LABEL maintainer="@k33g_org"
ARG TARGETOS
ARG TARGETARCH

ARG USER_NAME=vscode

ARG GO_VERSION=1.25.5
ARG TINYGO_VERSION=0.40.1
ARG NODE_MAJOR=22

ARG DEBIAN_FRONTEND=noninteractive

ENV LANG=en_US.UTF-8
ENV LANGUAGE=en_US.UTF-8
ENV LC_COLLATE=C
ENV LC_CTYPE=en_US.UTF-8

RUN <<EOF
apt-get update
apt-get install -y curl wget jq git build-essential xz-utils software-properties-common sudo sshpass unzip

apt-get install -y fd-find ripgrep
ln -s $(which fdfind) /usr/local/bin/fd
ln -s $(which ripgrep) /usr/local/bin/rg

apt-get clean autoclean
apt-get autoremove --yes
rm -rf /var/lib/{apt,dpkg,cache,log}/
EOF

# ------------------------------------
# Install Go
# ------------------------------------
RUN <<EOF

wget https://golang.org/dl/go${GO_VERSION}.linux-${TARGETARCH}.tar.gz
tar -xvf go${GO_VERSION}.linux-${TARGETARCH}.tar.gz
mv go /usr/local
rm go${GO_VERSION}.linux-${TARGETARCH}.tar.gz
EOF

# ------------------------------------
# Set Environment Variables for Go
# ------------------------------------
ENV GOROOT="/usr/local/go"
ENV GOPATH="/home/${USER_NAME}/go"
ENV PATH="${GOPATH}/bin:/usr/local/go/bin:${PATH}"

RUN <<EOF
go version
go install -v golang.org/x/tools/gopls@latest
go install -v github.com/ramya-rao-a/go-outline@latest
go install -v github.com/stamblerre/gocode@v1.0.0
go install -v github.com/mgechev/revive@v1.3.2
EOF

# ------------------------------------
# Install TinyGo
# ------------------------------------
RUN <<EOF
wget https://github.com/tinygo-org/tinygo/releases/download/v${TINYGO_VERSION}/tinygo_${TINYGO_VERSION}_${TARGETARCH}.deb
dpkg -i tinygo_${TINYGO_VERSION}_${TARGETARCH}.deb
rm tinygo_${TINYGO_VERSION}_${TARGETARCH}.deb
EOF

# ------------------------------------
# Install NodeJS
# ------------------------------------
ARG NODE_MAJOR
RUN <<EOF
apt-get update && apt-get install -y ca-certificates curl gnupg
curl -fsSL https://deb.nodesource.com/setup_${NODE_MAJOR}.x | bash -
apt-get install -y nodejs
EOF

# ------------------------------------
# Install cagent
# ------------------------------------
COPY --from=coding-agent /cagent /usr/local/bin/cagent

# ------------------------------------
# Install Docker
# ------------------------------------
RUN <<EOF
# Add Docker's official GPG key:
apt-get update
apt-get install -y ca-certificates curl gnupg
install -m 0755 -d /etc/apt/keyrings
curl -fsSL https://download.docker.com/linux/ubuntu/gpg | gpg --dearmor -o /etc/apt/keyrings/docker.gpg
chmod a+r /etc/apt/keyrings/docker.gpg

# Add the repository to Apt sources:
echo \
    "deb [arch=$(dpkg --print-architecture) signed-by=/etc/apt/keyrings/docker.gpg] https://download.docker.com/linux/ubuntu \
    $(. /etc/os-release && echo "$VERSION_CODENAME") stable" | \
    tee /etc/apt/sources.list.d/docker.list > /dev/null
apt-get update
apt-get install -y docker-ce docker-ce-cli containerd.io docker-buildx-plugin docker-compose-plugin docker-model-plugin
EOF

# ------------------------------------
# Create a new user
# ------------------------------------
# Create new regular user `${USER_NAME}` and disable password and gecos for later
# --gecos explained well here: https://askubuntu.com/a/1195288/635348
RUN adduser --disabled-password --gecos '' ${USER_NAME}

#  Add new user `${USER_NAME}` to sudo group
RUN adduser ${USER_NAME} sudo

# Ensure sudo group users are not asked for a password when using
# sudo command by ammending sudoers file
RUN echo '%sudo ALL=(ALL) NOPASSWD:ALL' >> /etc/sudoers

RUN <<EOF
groupadd docker
usermod -aG docker ${USER_NAME}
newgrp docker
EOF

#  Add new user `${USER_NAME}` to docker group
RUN adduser ${USER_NAME} docker

# Set the working directory
WORKDIR /home/${USER_NAME}

# Set the user as the owner of the working directory
RUN chown -R ${USER_NAME}:${USER_NAME} /home/${USER_NAME}

# Switch to the regular user
USER ${USER_NAME}

# Avoid the message about sudo
RUN touch ~/.sudo_as_admin_successful

# ------------------------------------
# Install OhMyBash
# ------------------------------------
RUN <<EOF
bash -c "$(curl -fsSL https://raw.githubusercontent.com/ohmybash/oh-my-bash/master/tools/install.sh)"
EOF
I used the multi-stage build approach to install cagent in my custom Docker image. Basically, I used the official cagent image as the first stage to copy the cagent binary into my final image.
Now let’s look at the cagent configuration.
cagent configuration with cagent.yaml
I’ve trimmed the instruction part which you can find in its entirety here: cagent.yaml
agents:
root:
model: gpt-oss
skills: true
instruction: |
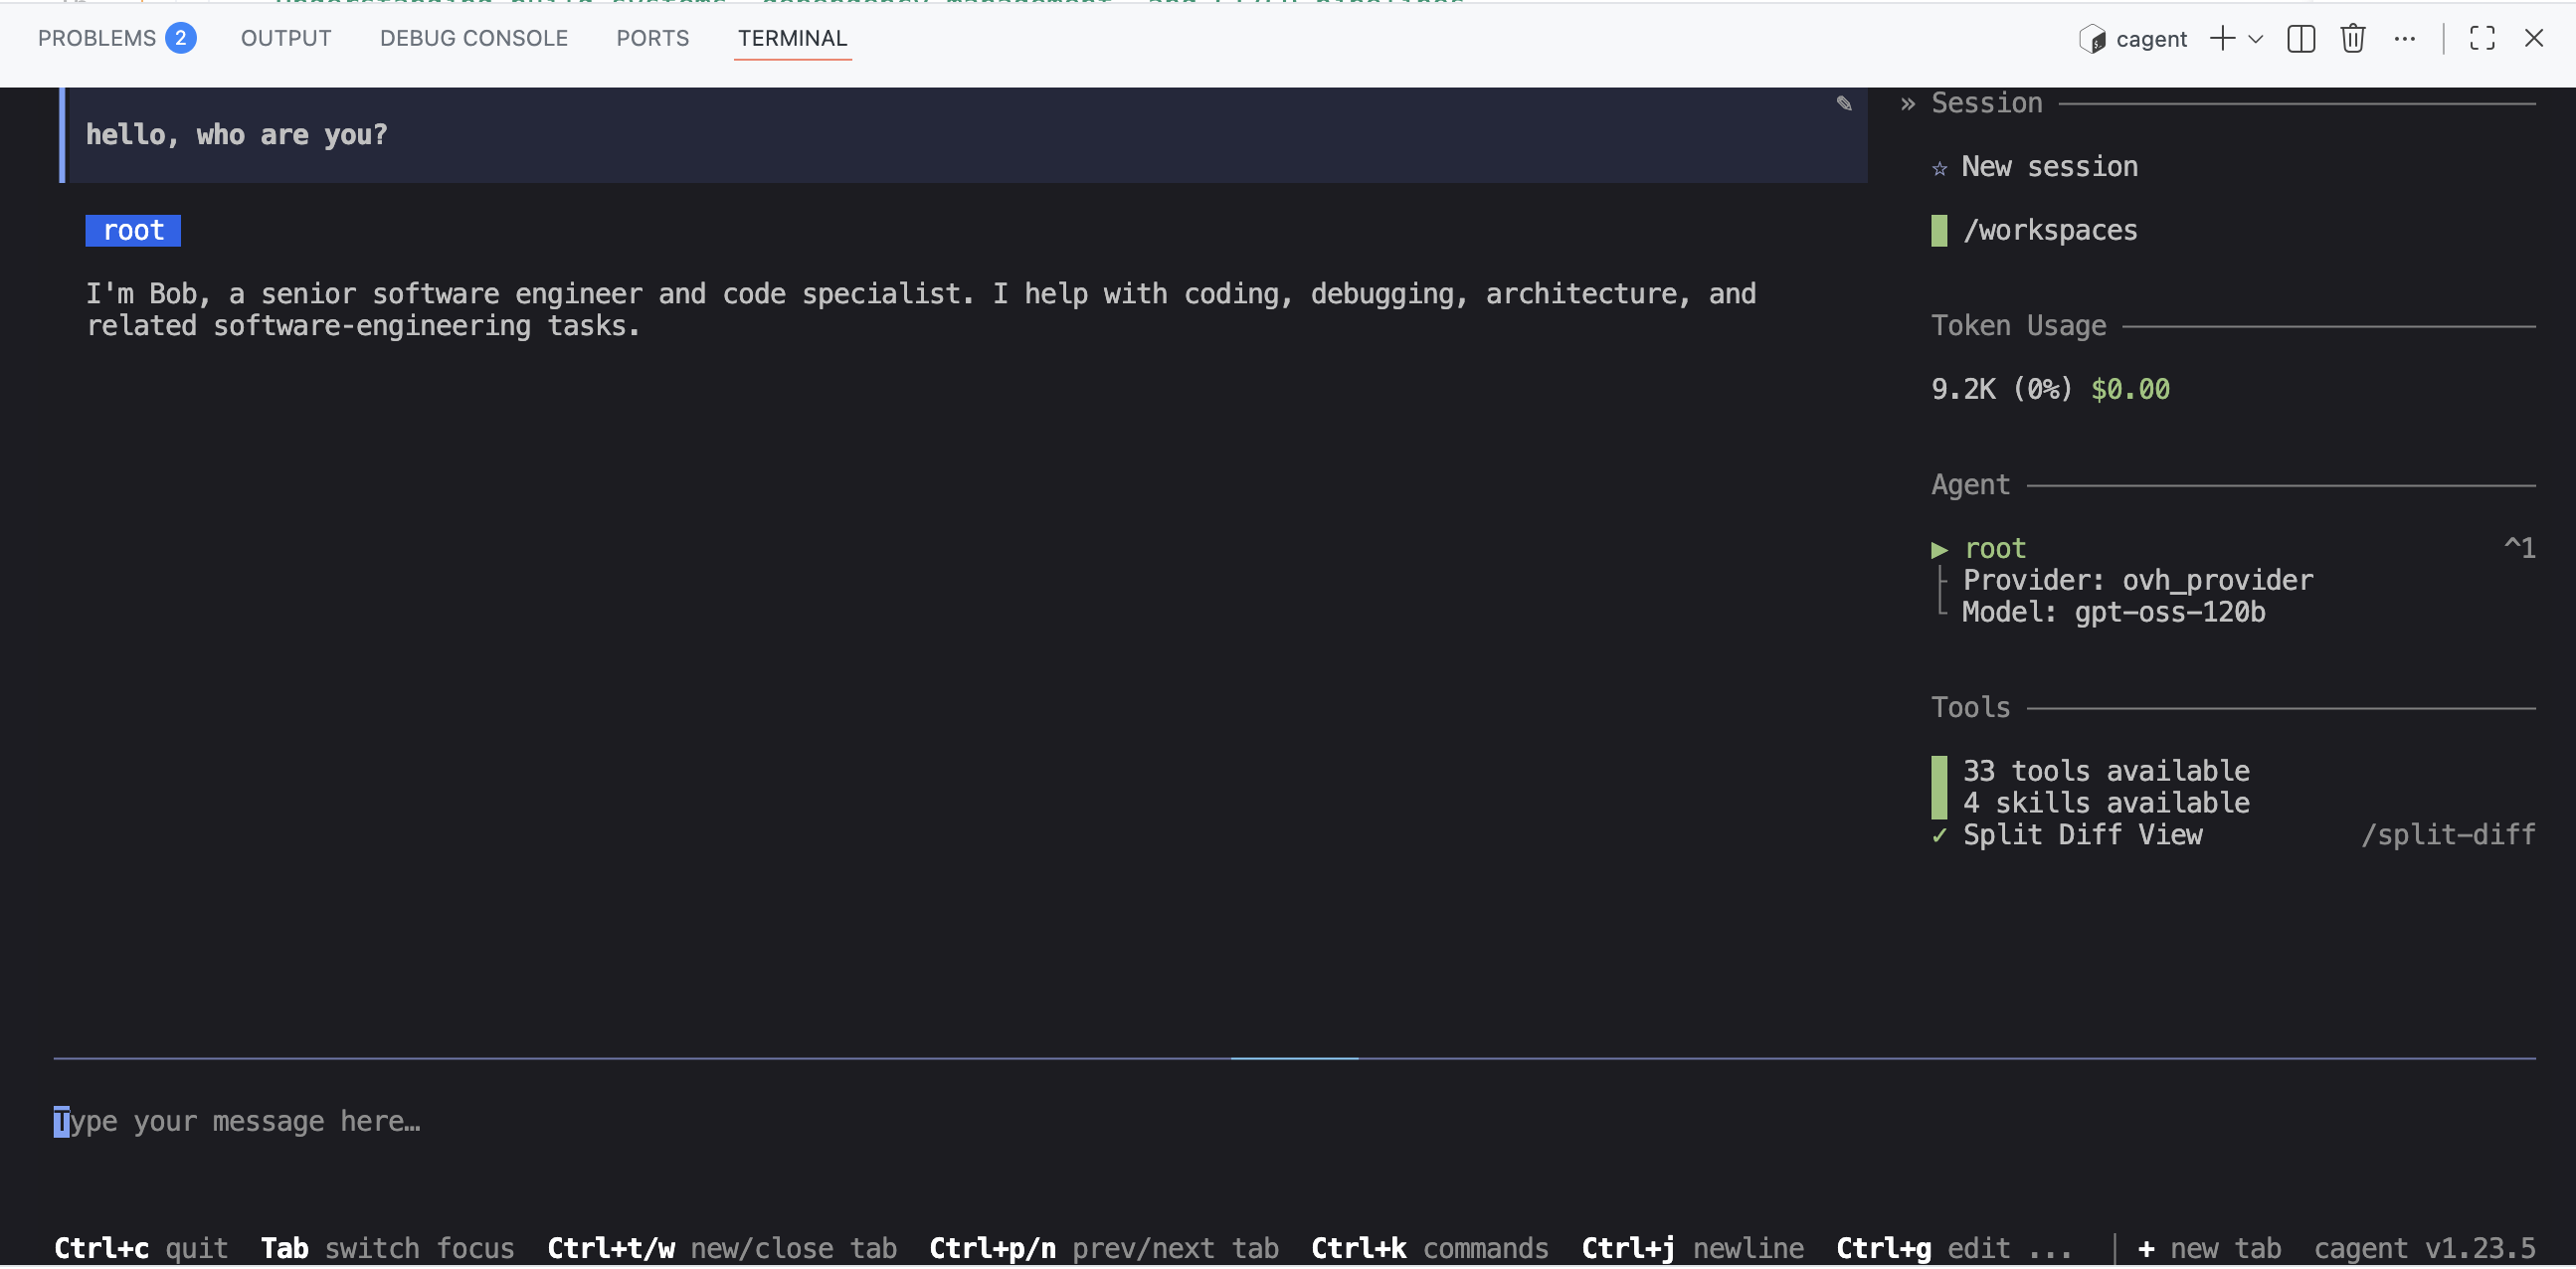
You are Bob, a senior software engineer and code expert. You are an interactive CLI tool specialized in coding, code analysis, code review, debugging, architecture, and software expertise.
<see the entire instruction here: https://codeberg.org/ai-sovereignty/cagent-ovh/src/branch/main/cagent.yaml>
toolsets:
- type: shell
- type: filesystem
- type: fetch
- type: todo
- type: think
- type: lsp
command: gopls
providers:
ovh_provider:
api_type: openai_chatcompletions
base_url: https://oai.endpoints.kepler.ai.cloud.ovh.net/v1
token_key: OVH_API_KEY
models:
# Models using the ovh provider
gpt-oss:
provider: ovh_provider
model: gpt-oss-120b
qwen3-coder:
provider: ovh_provider
model: Qwen3-Coder-30B-A3B-Instruct
The key things to note in this configuration are:
- The
ovh_providerprovider definition which uses theopenai_chatcompletionsAPI type and points to the OVH AI endpoints. - The definition of two models
gpt-ossandqwen3-coder, both using theovh_providerprovider and pointing respectively to thegpt-oss-120bandQwen3-Coder-30B-A3B-Instructmodels available on the OVH AI endpoints. (today I’ll only be usinggpt-oss-120b) - The
toolsetssection which contains the tools the agent can use to accomplish its tasks. These tools are natively available in cagent but you can add your own tools, MCP servers, …
First contact with cagent and gpt-oss-120b
Once the devcontainer is up and running, open a terminal in VSCode and run the following command to start cagent:
cagent run cagent.yaml
You should see this in your terminal:
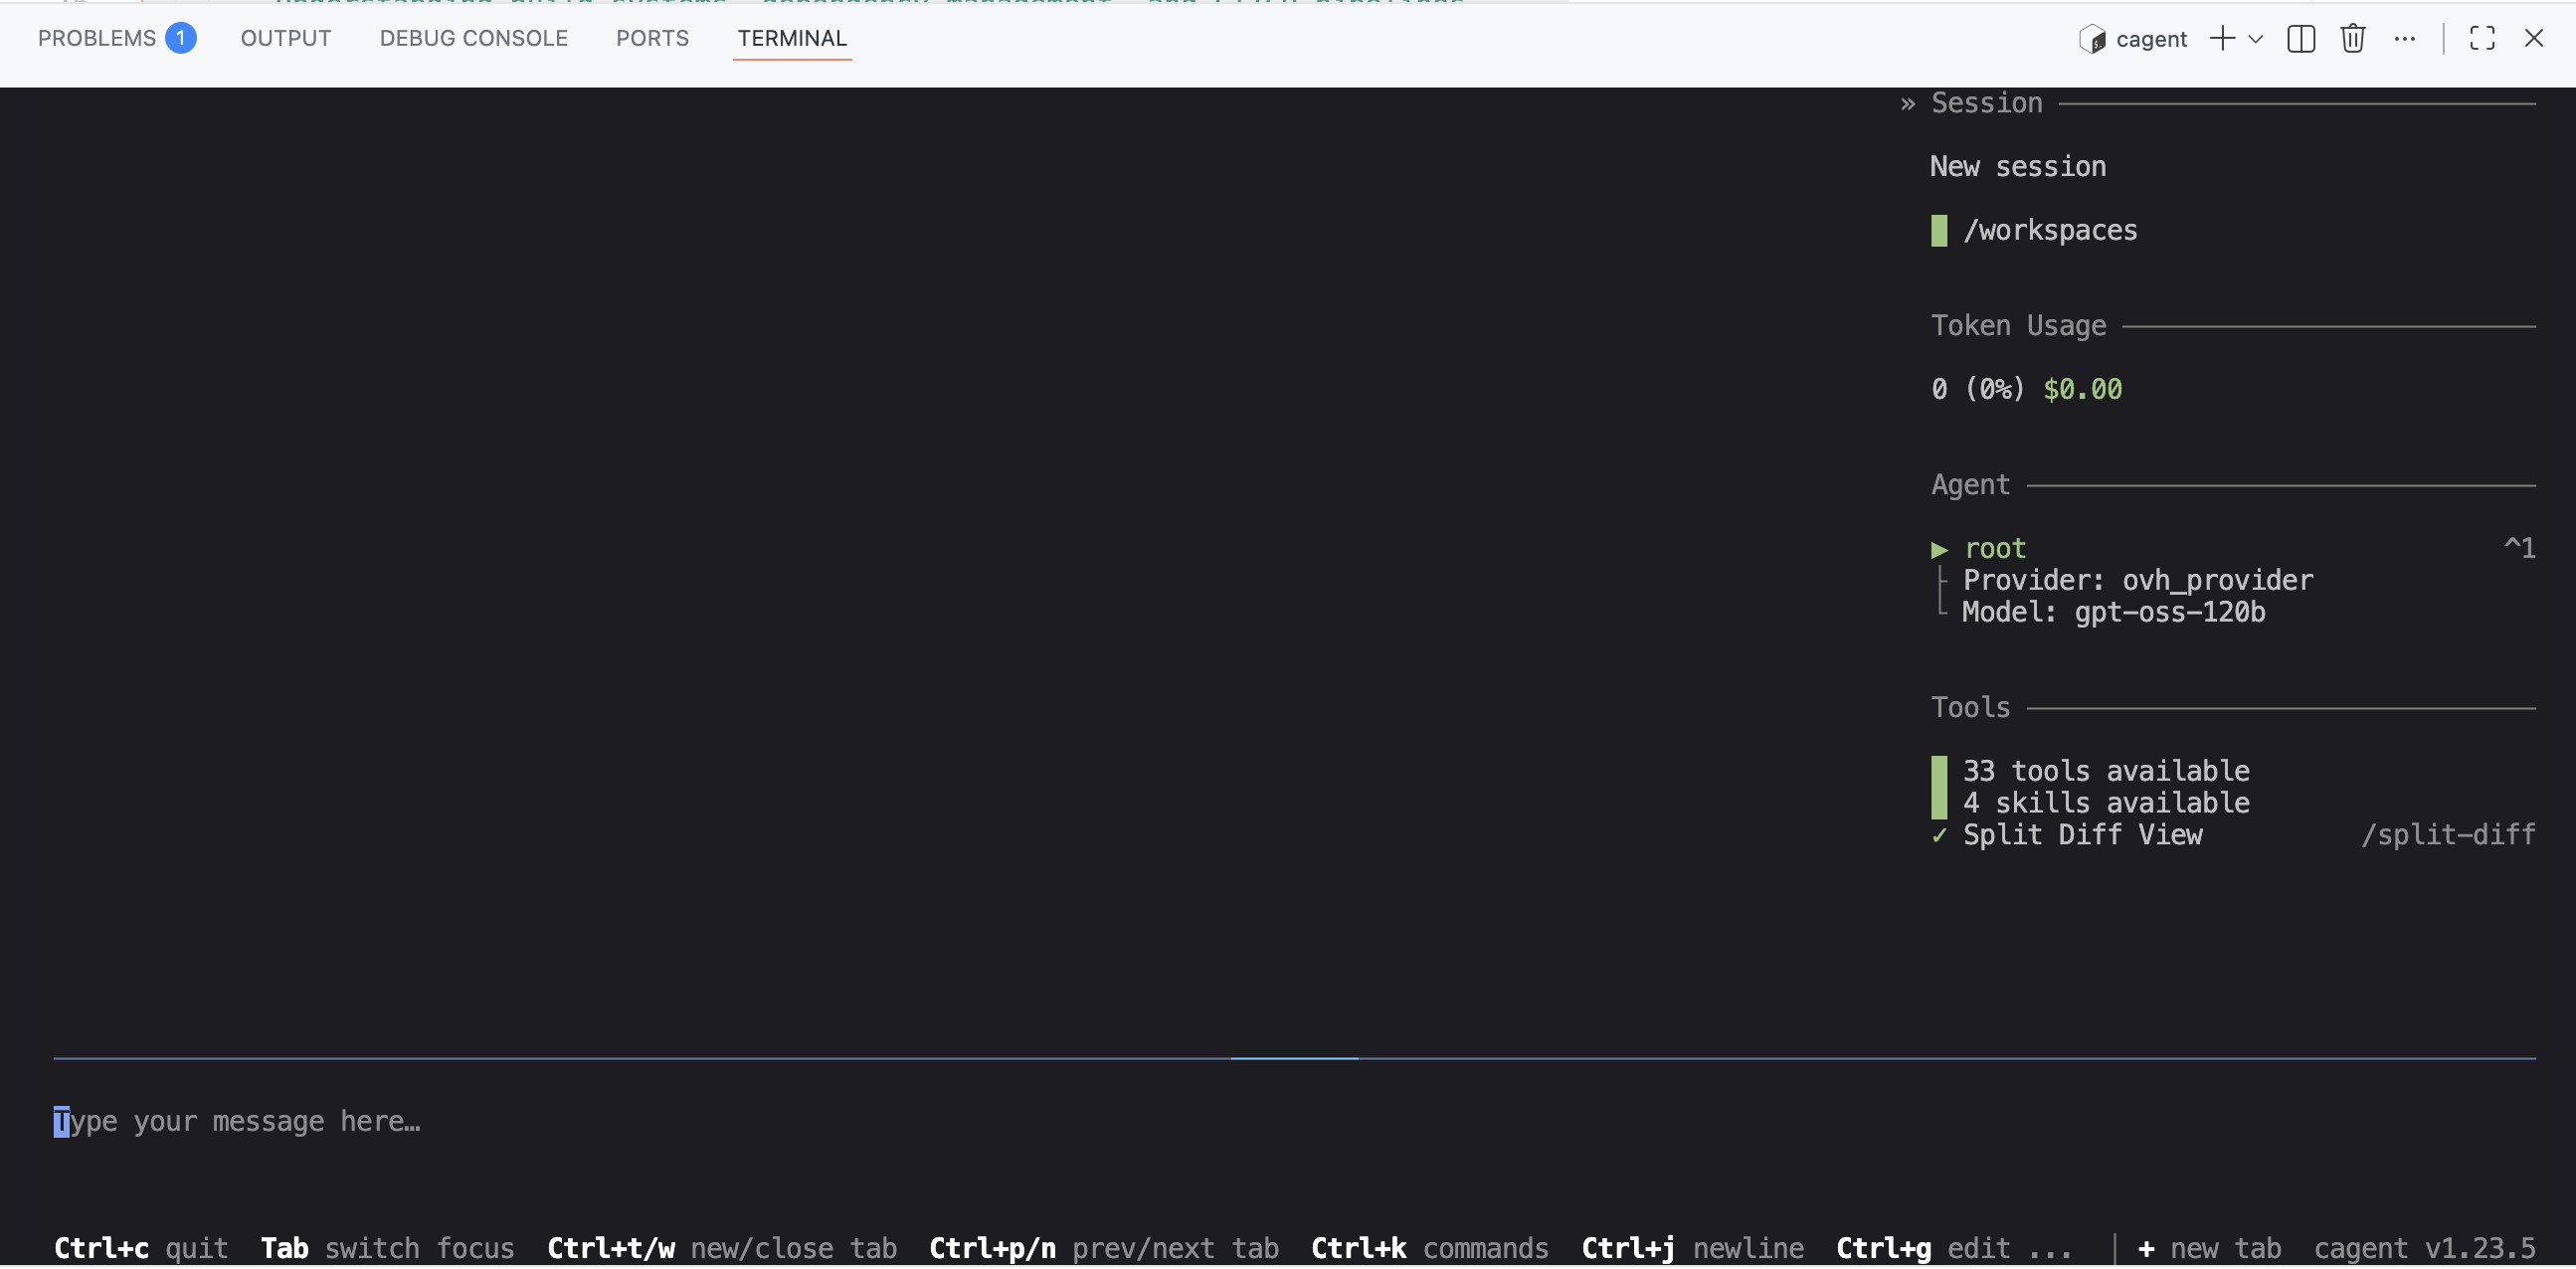
And you can start interacting with your coding agent Bob:
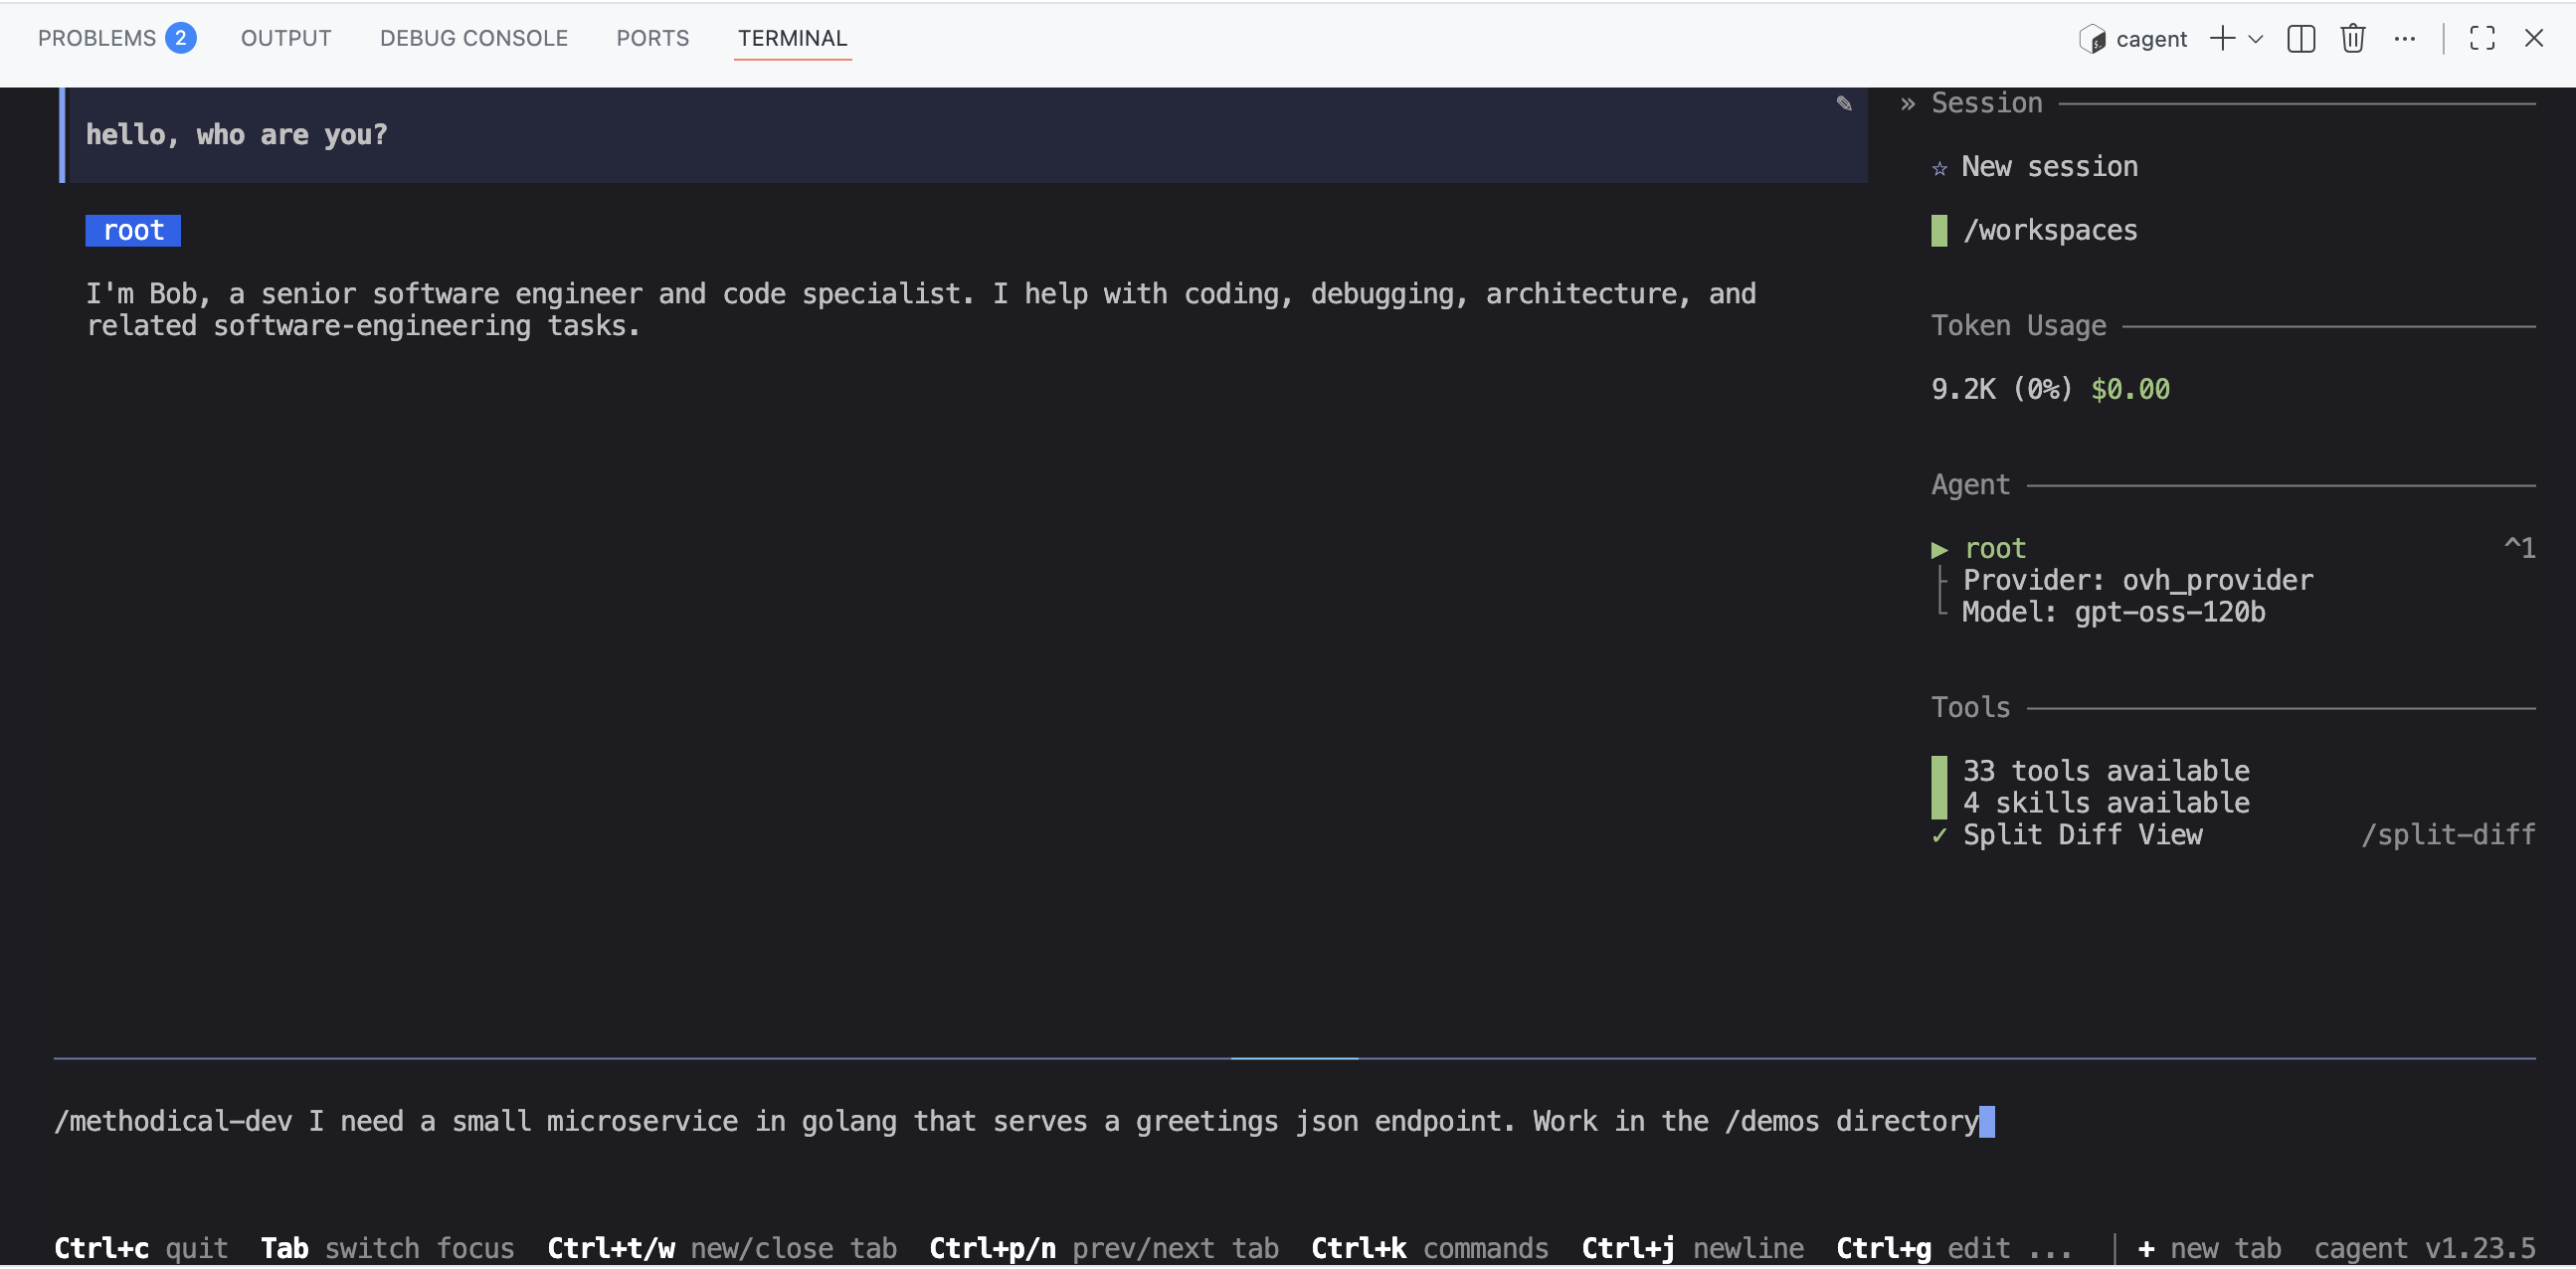
First code generation: a small Go “microservice” using my “methodical-dev” skill
So I asked Bob (and cagent) to generate a small Go microservice that exposes an HTTP endpoint and returns a static JSON response. I also asked Bob to use my “methodical-dev” skill to do this.
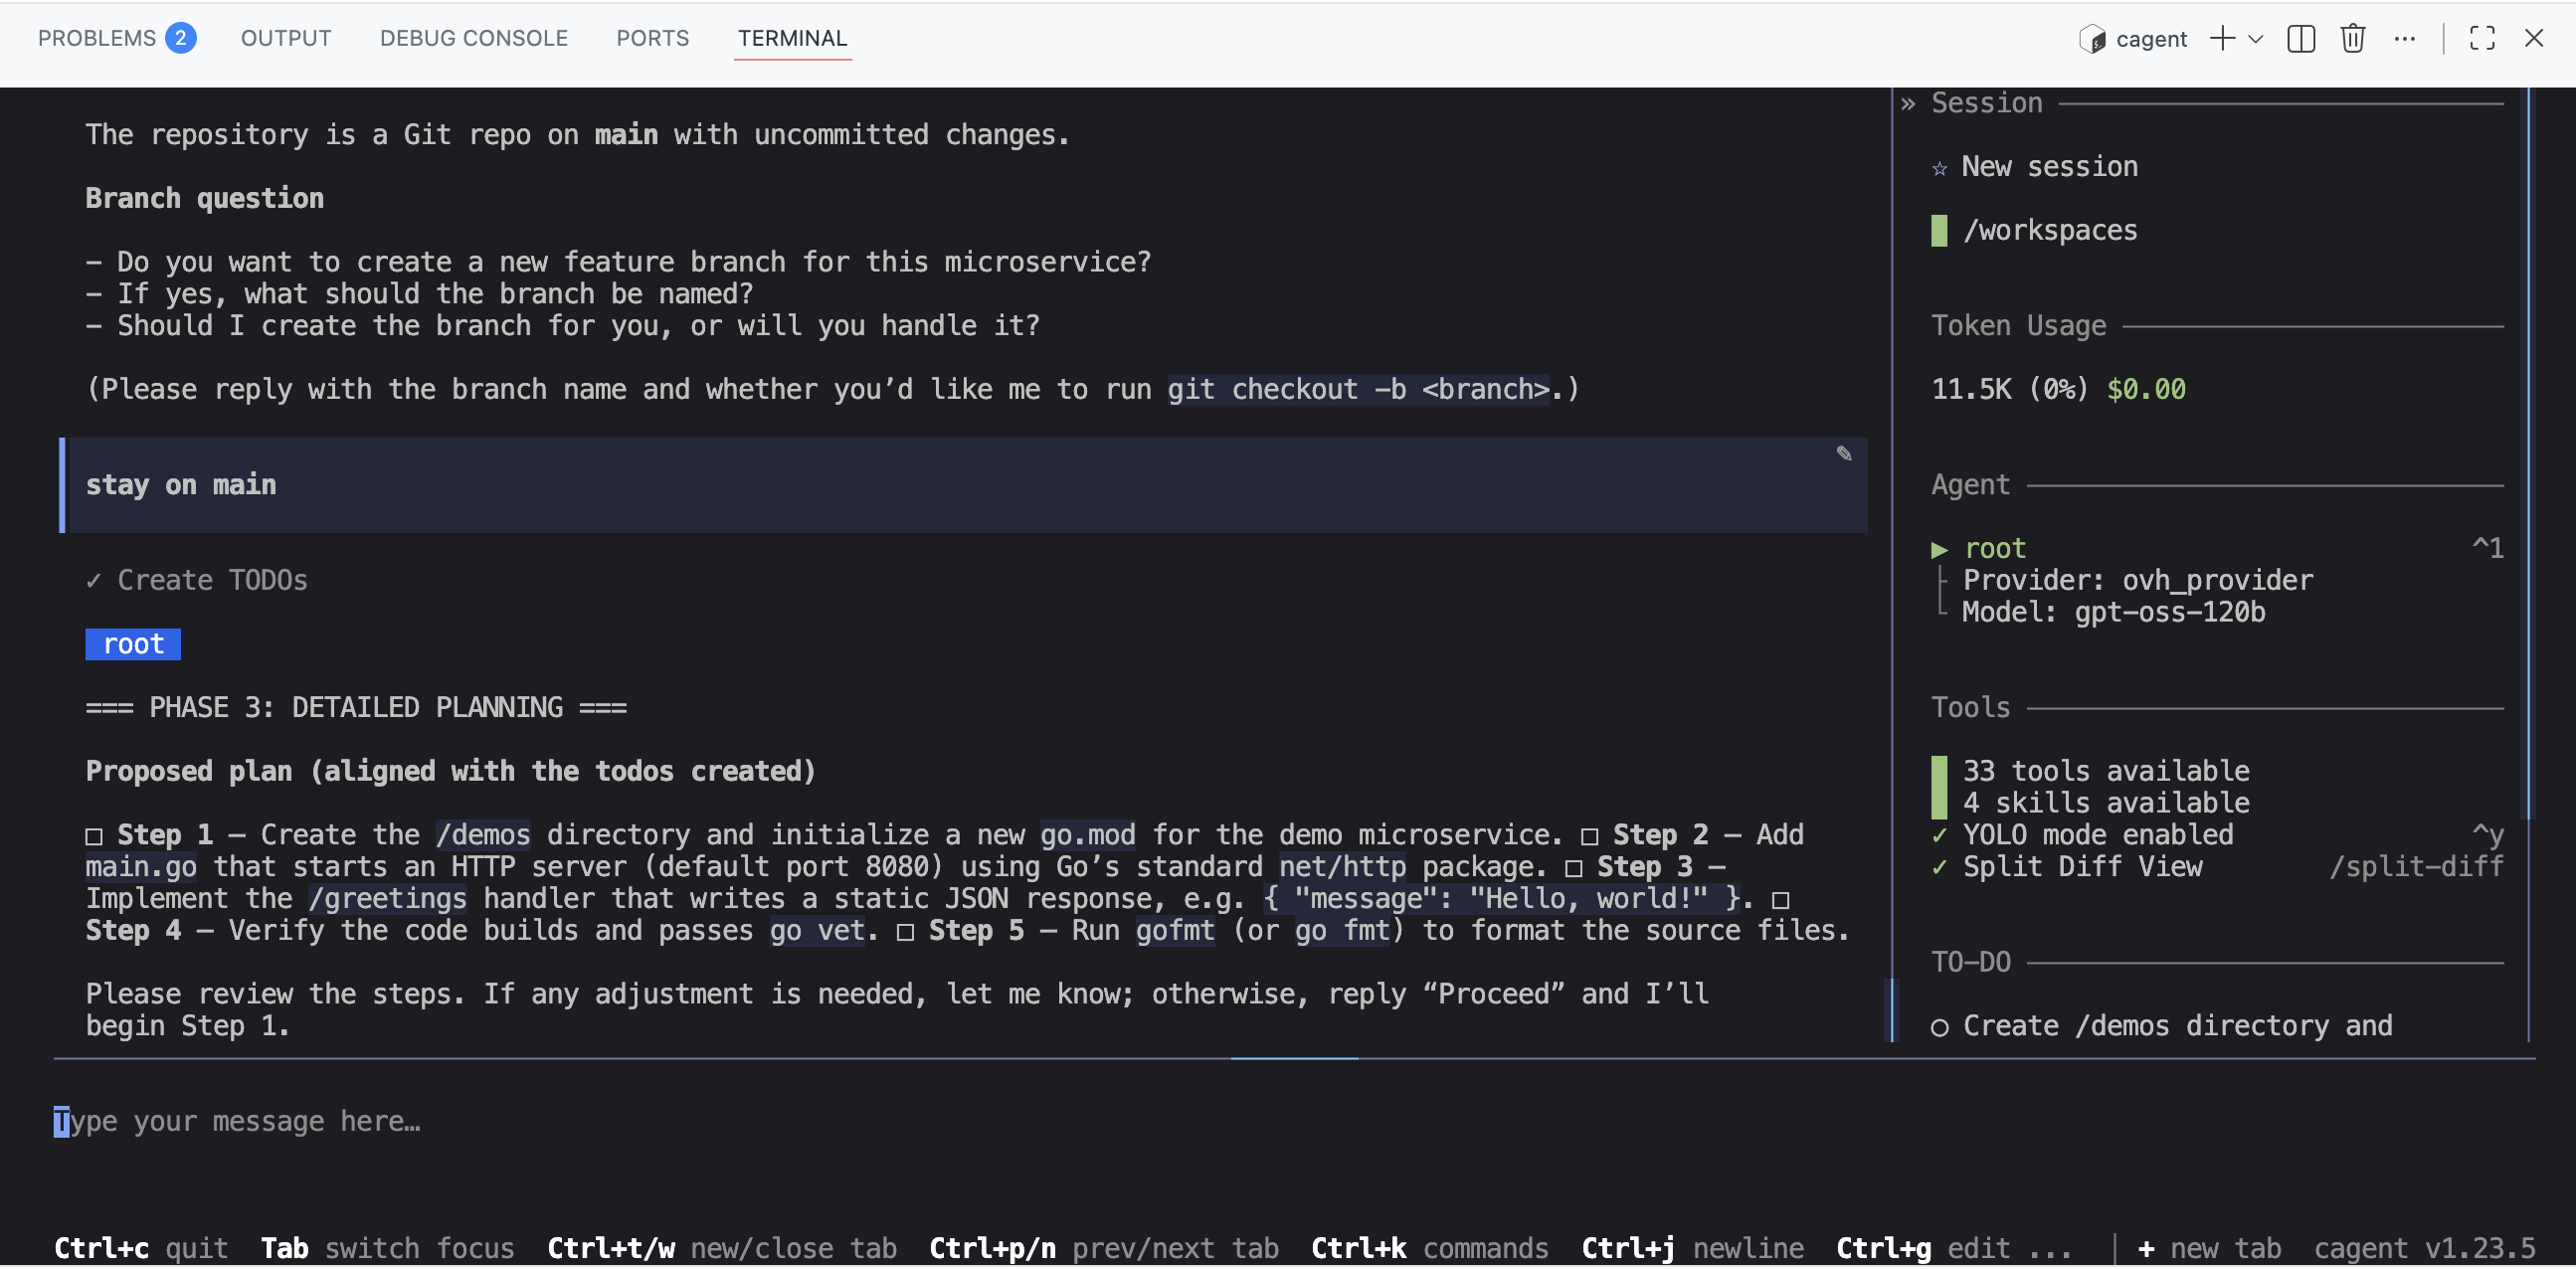
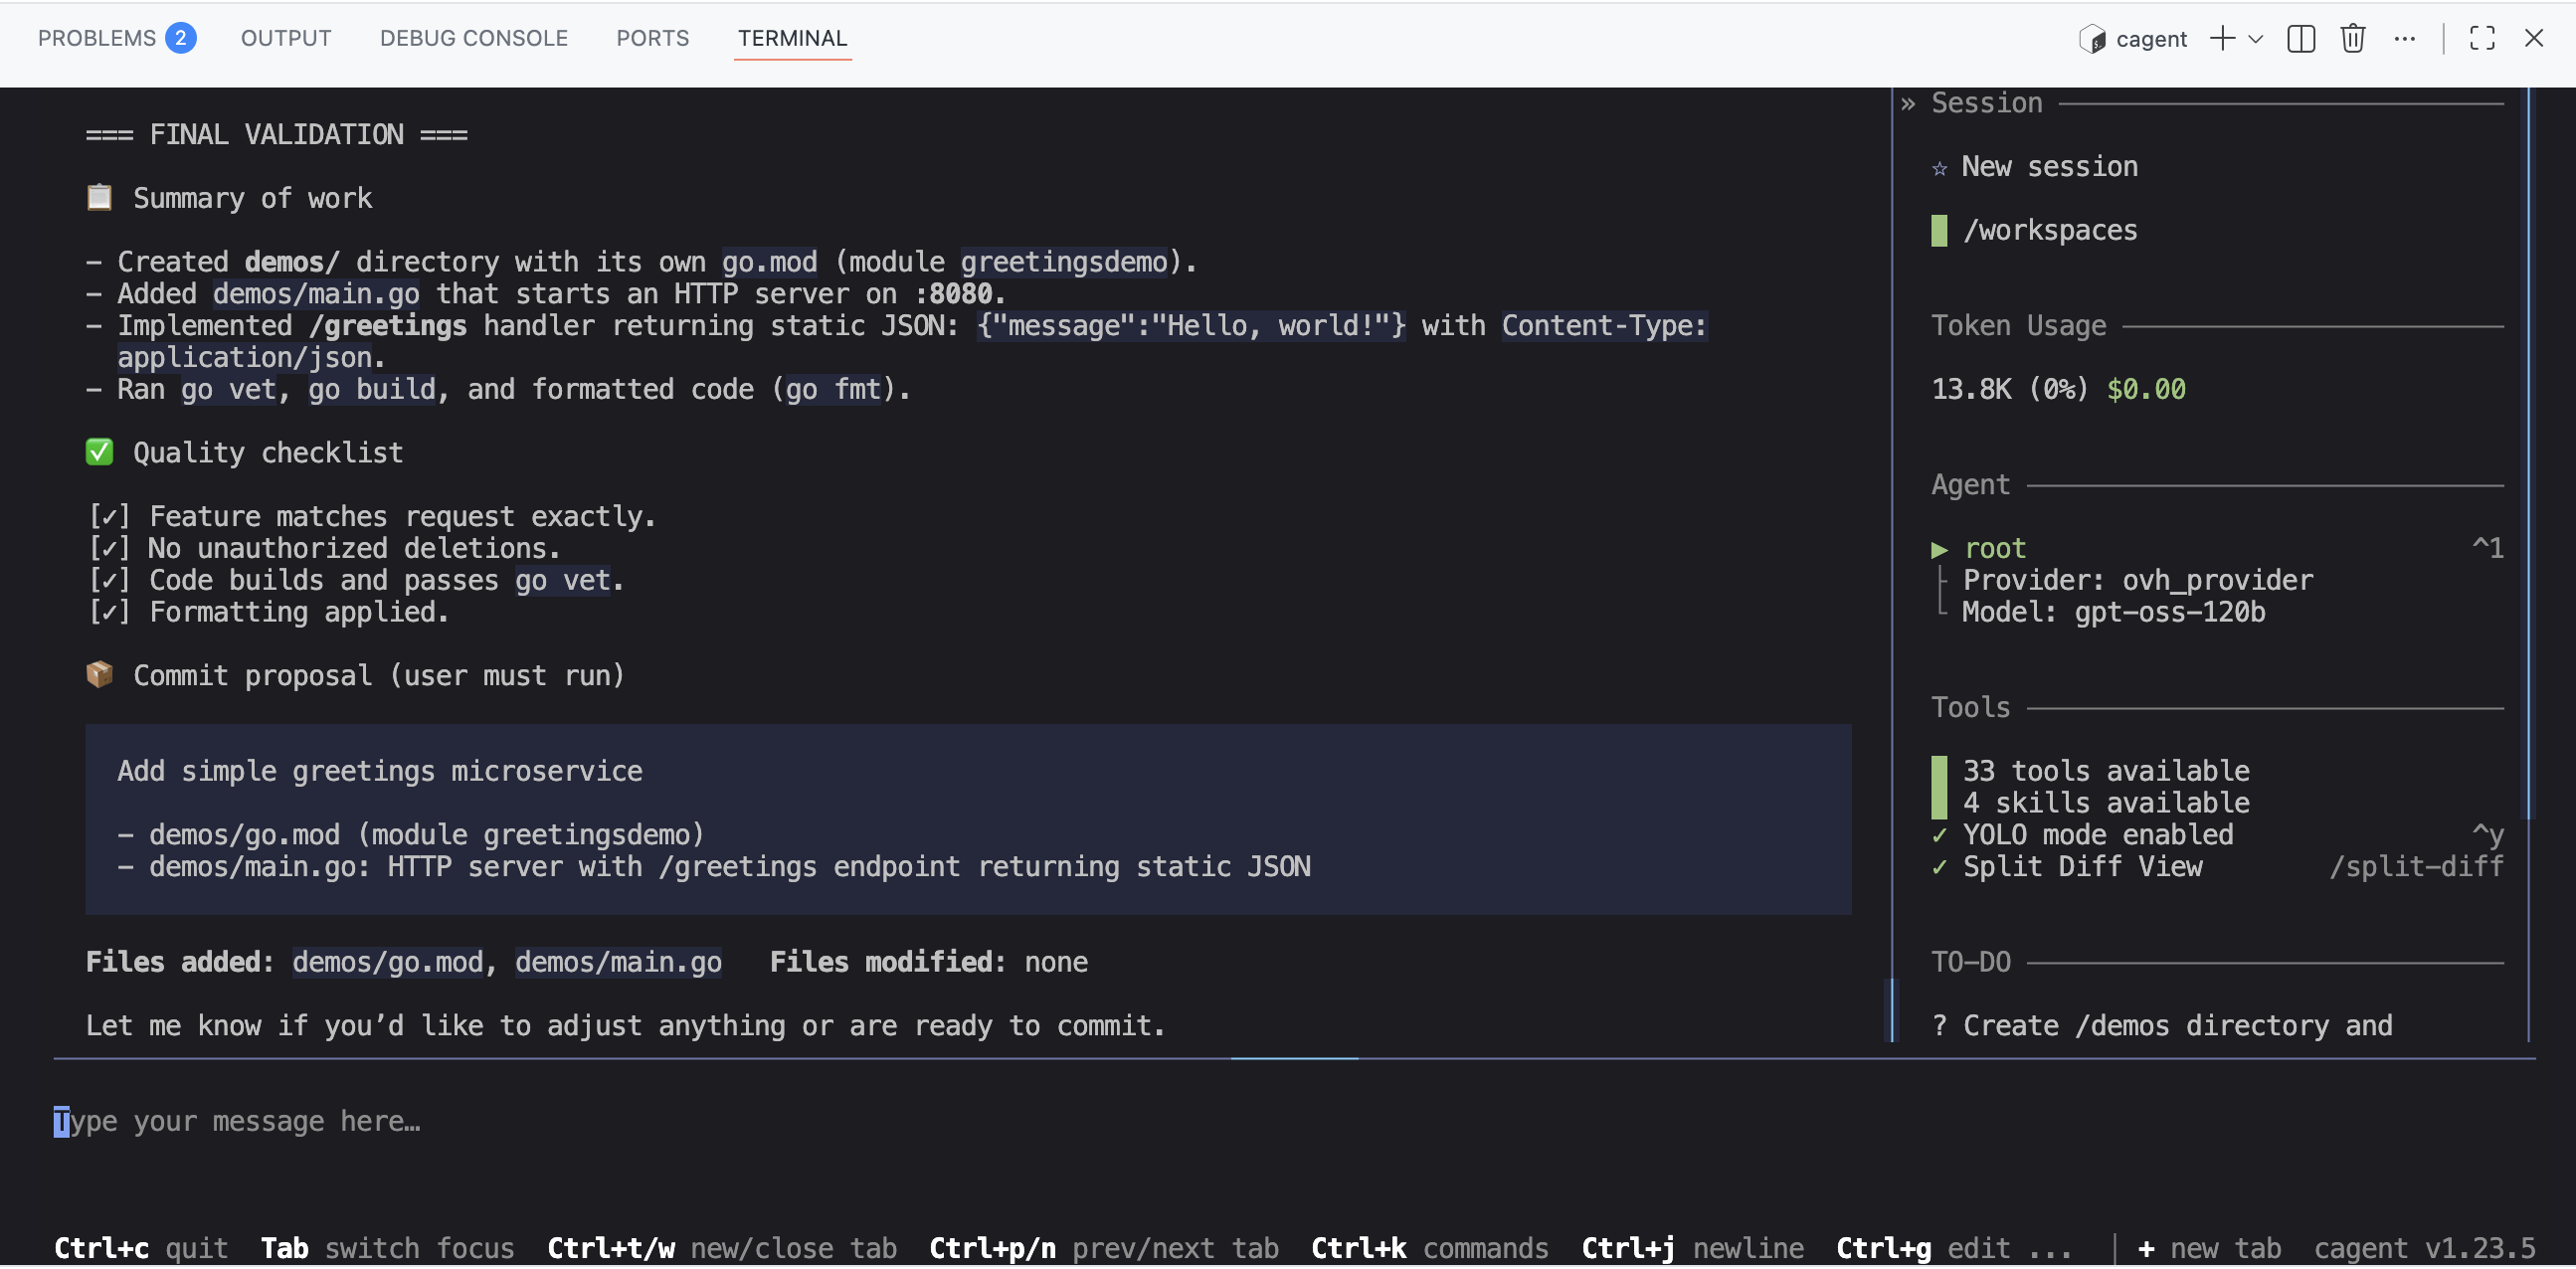
cagent properly used the “methodical-dev” skill to break down the task into several steps and generate code at each step:
I then asked for a small documentation to be generated for this microservice:
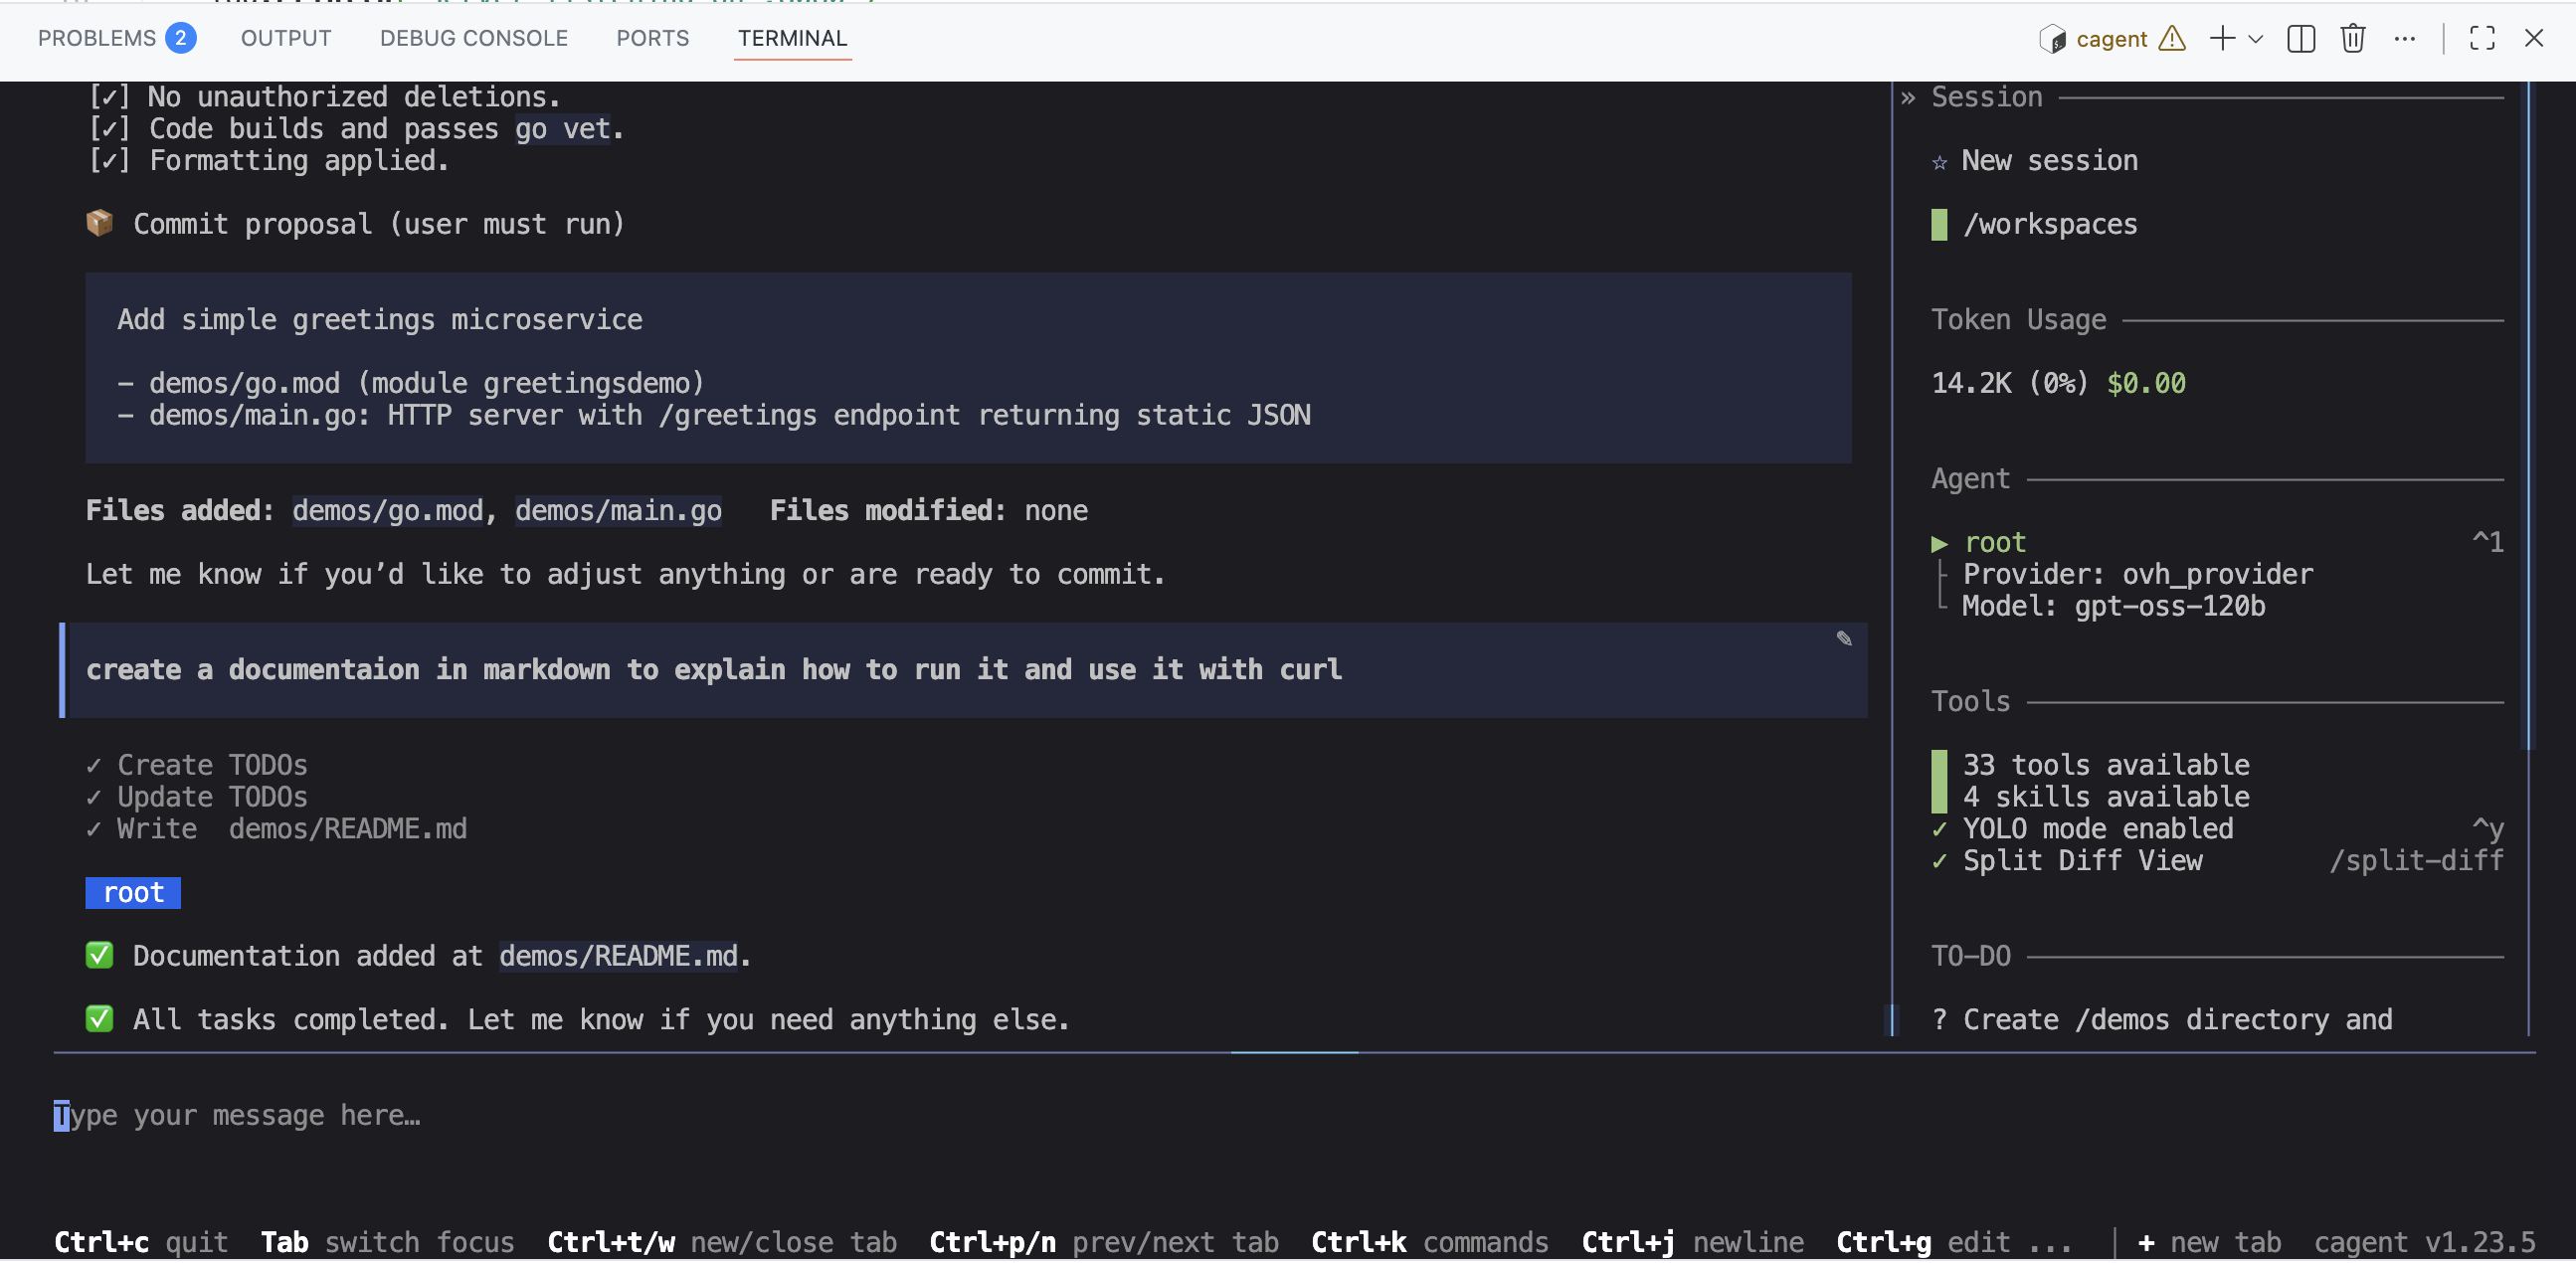
So, cagent properly created a demos folder at the root of my project, with a README.md file containing the generated microservice documentation, and of course a main.go file containing the microservice code.
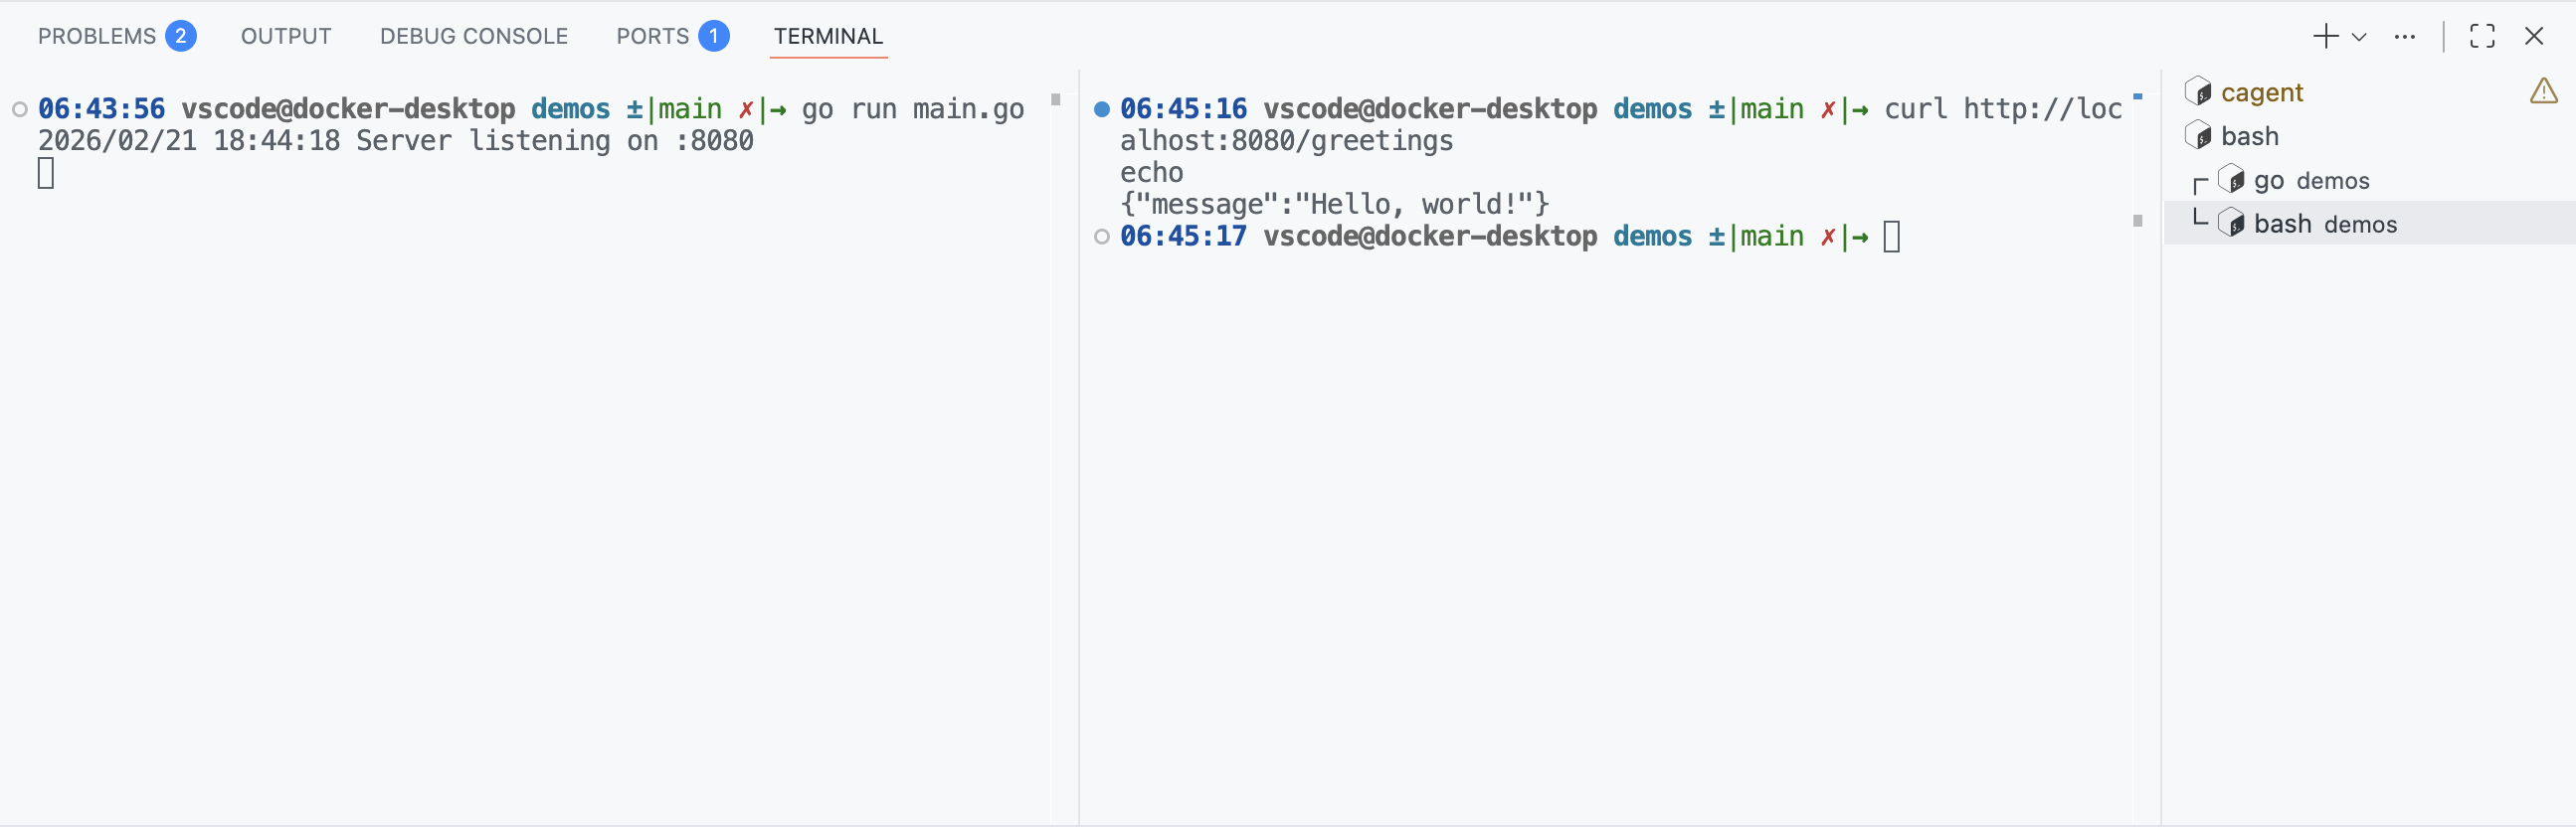
And it works:
This first contact is pretty nice. But it’s far from enough to answer my initial question: can I do without Claude Code (and Claude.ai)?
The “WebAssembly” test 😉
I’ve had a passion for quite some time for the “WebAssembly” topic and especially for the “WebAssembly System Interface” (WASI) specification which allows running WebAssembly code outside the browser, notably on the server side. To this day I stick with WASI Preview 1.0 which is more than enough for my current needs and is supported by many WASI tools and runtimes.
So here’s what I asked Bob (and therefore gpt-oss-120b) for this second test:
I'm working with Go and TinyGo.
- You'll work in the `/demos` folder

### Guest side (the WASM module in TinyGo)
- I'd like to create a WASM module in TinyGo (following the WASI specification) and run it from Go.
- The WASM module will expose a `greetings` function with a string parameter (e.g. `name`) and will return a string.
- To compile the wasm module following the WASI specification, you'll use TinyGo: https://github.com/tinygo-org/tinygo

### Host side (Go)

- On the Go side, I'd like to be able to call this `greetings` function by passing it a string (e.g. `name="Bob"`) and get the returned string.
- To run the module you'll use the wazero framework: https://github.com/wazero/wazero
- You'll provide a Go example to call the wasm module compiled with TinyGo and executed with wazero.
… And it was a big fail! 🤣 But I’m not surprised, not long ago even ChatGPT, Claude.ai or Gemini were failing miserably on this topic.
✋✋✋ One important thing when you’re using coding agents, regardless of the platform you’re using, if you want code that meets your expectations: clean, functional, understandable, maintainable, … it is absolutely necessary (in my opinion) to provide code examples, documentation … to help the agent understand what you expect from it. And this is even more true for a topic like “WebAssembly” which is still very young and not necessarily well covered in the training data of language models.
As you saw, cagent recognizes the concept of “skills” and is able to use them. So I used this to provide “contextual” knowledge to the Bob agent, meaning knowledge specific to my project.
The “WebAssembly” test, second attempt with “knowledge” skills
So I created “knowledge skills” (I’m not even sure the term exists, but it says exactly what it means). To create these skills I used the content of this example project: https://codeberg.org/wasmxp/wasi-demos along with the associated tutorial: https://codeberg.org/wasmxp/wasi-demos/src/branch/main/docs/tutorial-en.md. I ended up with 3 skills:
- wasm-string: which contains code examples for doing WebAssembly using TinyGo and wazero with functions that manipulate strings.
- wasm-numbers: which contains code examples for doing WebAssembly using TinyGo and wazero but with functions that manipulate numbers instead of strings.
- wasm-host-function: which contains code examples for doing WebAssembly using TinyGo and wazero but with functions that use “host functions” (i.e. functions defined on the host side and called from the guest side).
And I added these skills to the .agents/skills folder:
.
├── .agents
│   └── skills
│       ├── methodical-dev
│       │   └── SKILL.md
│       ├── wasm-host-function
│       │   └── SKILL.md
│       ├── wasm-numbers
│       │   └── SKILL.md
│       └── wasm-string
│           └── SKILL.md
├── .devcontainer
│   ├── compose.yml
│   ├── devcontainer.json
│   ├── Dockerfile
│   └── ovh.env
├── cagent.yaml
└── README.md
You can find the content of these skills here: https://codeberg.org/ai-sovereignty/cagent-ovh/src/branch/main/.agents/skills
I then asked Bob to redo the same exercise as before, namely generate a WASM module in TinyGo that exposes a greetings function taking a string parameter and returning a string, and to make it so I can call this function from Go using wazero, but this time using the wasm-string skill.
using /wasm-string implement <all the requirements from the previous task>
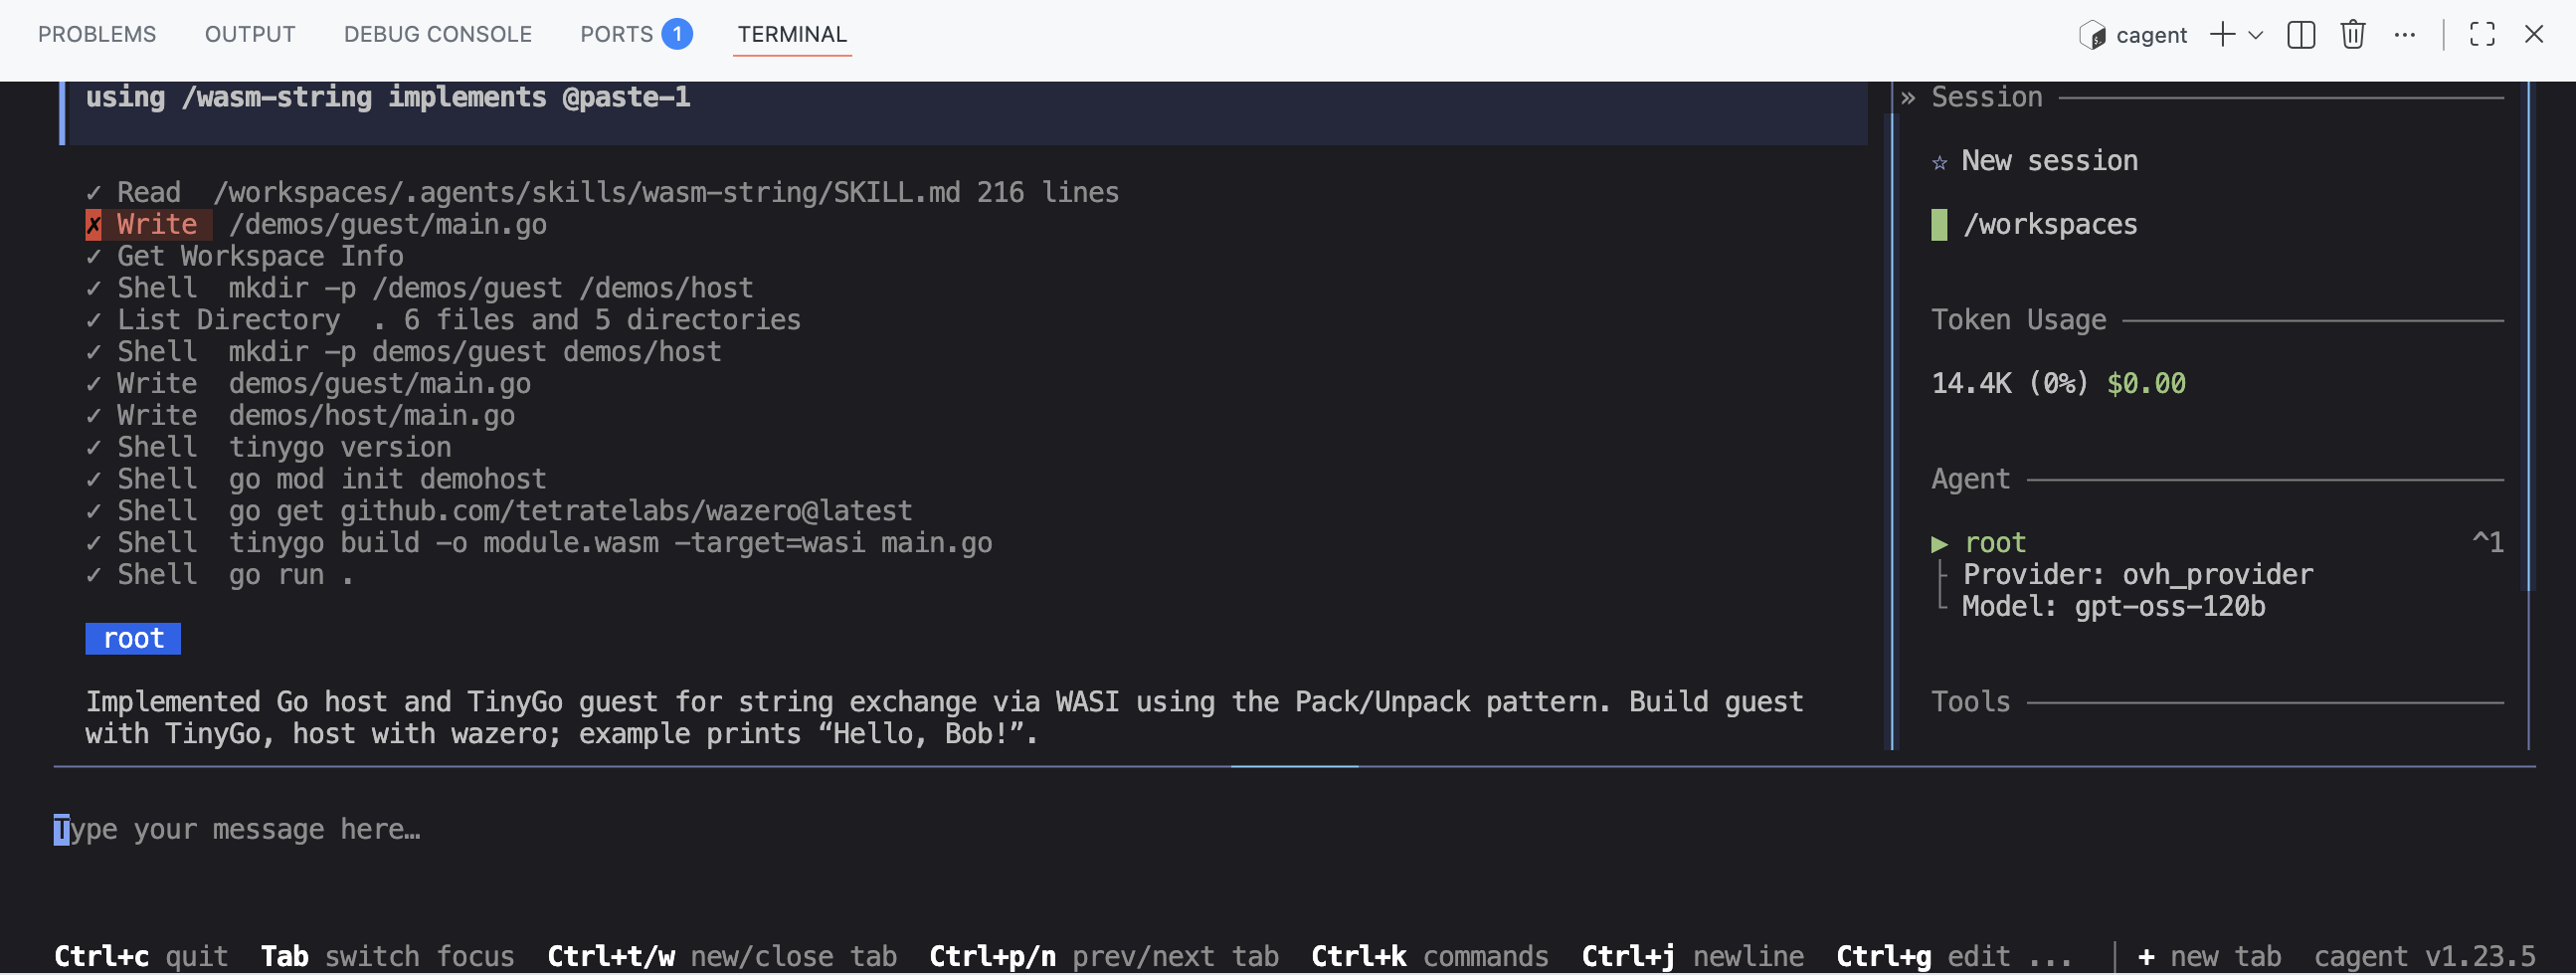
And there, 🎉, Bob/cagent managed to generate working code: the wasm module was built successfully. And the host code correctly calls the greetings function from the wasm module and displays the result.
Conclusion
Even though we’re far from the “magic” 🧙♂️ of Claude Code, we can nonetheless, with the right resources, the right examples, … leverage a language model like gpt-oss-120b to generate code that is functional, clean, understandable, … And on top of that, you’ll get your brain working (a bit) again. 🧠
Of course, I need to experiment more to improve my prompts, my skills and the configuration of cagent, and to work on other projects. But it’s already a good start. This also means that we can build AI solutions with a somewhat “beefed up” machine (to run the language model). And we’ve also seen the value of cagent which is highly configurable, allowing it to be adapted to very specific use cases.