Baby steps with Genkit JS and Docker Model Runner
📅 Published on: 26 January 2026
I have a passion for the Go language that I’ve been practicing since the end of the first COVID lockdown (in France). But I don’t disdain returning to my first love, namely JavaScript. I recently discovered Genkit JS (I had already tried Genkit Go which I really liked, even though I’m missing 2 or 3 little things like the ability to capture the model’s reasoning stream and parallel tool calls).
So I’m offering you a little series of articles to discover Genkit JS at the same time as me.
Throughout this series, I want to set up a kind of programming assistance agent that would be able to help me write code. But be careful, not a “coding agent” like Claude Code, because I plan to use only very small local models via Docker Model Runner.
I just want an assistant that I can ask/search questions with like I would with Google, Comet, StackOverflow… when I’m coding. So no vibe coding in perspective, just help for my memory and knowledge.
Let’s call it NanoNerd 🤓. I plan to use several types of models and make them work together with MCP servers to compensate for the limitations due to their small sizes (and capacity). And we’ll see over the weeks what features to add and what’s possible to do… or impossible.
Today, we’re just going to lay the groundwork with a first contact with Genkit JS (and Docker Model Runner).
Prerequisites
NodeJS and NPM
You need NodeJS and NPM installed on your machine, and to install Genkit JS dependencies:
npm install @genkit-ai/compat-oai
npm pkg set type=module
We’ll also install prompts which will allow us to enter user inputs in the console:
npm install prompts
Our package.json file should look like this:
{
  "dependencies": {
    "@genkit-ai/compat-oai": "^1.28.0",
    "prompts": "^2.4.2"
  },
  "type": "module"
}
📝 The Genkit
compat-oaiplugin allows connecting to OpenAI compatible APIs, like Docker Model Runner.
Docker Model Runner
You’ll also need Docker Model Runner which is installed with Docker Desktop if you’re on macOS or Windows. On Linux, I wrote a guide to install Docker Model Runner with Docker CE: Install and Run Docker Model Runner on Linux .
Today we’ll use this model: Qwen2.5-Coder-3B-Instruct-GGUF, it remains lightweight (3b parameters) and is optimized for programming.
If your machine isn’t powerful enough to run this model, you can try smaller versions of the model:
The last one, 0.5B, should even be able to run on a Raspberry Pi 5 with 8GB of RAM. Of course, the quality of responses will be lower.
To download the models, you can use the docker model pull command:
docker model pull hf.co/Qwen/Qwen2.5-Coder-3B-Instruct-GGUF:Q4_K_M
docker model pull hf.co/Qwen/Qwen2.5-Coder-1.5B-Instruct-GGUF:Q4_K_M
docker model pull hf.co/Qwen/Qwen2.5-Coder-0.5B-Instruct-GGUF:Q4_K_M
If you type the docker model list command, you should see the downloaded models:
MODEL NAME                                          PARAMETERS  QUANTIZATION   ARCHITECTURE  MODEL ID      CREATED         CONTEXT  SIZE
hf.co/qwen/qwen2.5-coder-0.5b-instruct-gguf:Q4_K_M  630.17M     MOSTLY_Q4_K_M  qwen2         acafc9a53feb  28 seconds ago           462.96MiB
hf.co/qwen/qwen2.5-coder-1.5b-instruct-gguf:Q4_K_M  1.78B       MOSTLY_Q4_K_M  qwen2         16a4b9cce482  29 seconds ago           1.04GiB
hf.co/qwen/qwen2.5-coder-3b-instruct-gguf:Q4_K_M    3.40B       MOSTLY_Q4_K_M  qwen2         210c178fb291  42 seconds ago           1.95GiB
First Genkit JS script
Create an index.js file and follow these steps to create a simple script that interacts with the Qwen2.5-Coder model via Genkit JS and Docker Model Runner:
1. Import dependencies
import { genkit } from 'genkit';
import { openAICompatible } from '@genkit-ai/compat-oai';
import prompts from "prompts";
We import the necessary modules: genkit to create our AI client, the openAICompatible plugin to connect to Docker Model Runner, and prompts to handle user inputs.
2. Configuration with environment variables
let engineURL = process.env.ENGINE_BASE_URL || 'http://localhost:12434/engines/v1/';
let coderModelId = process.env.CODER_MODEL_ID || 'hf.co/qwen/qwen2.5-coder-3b-instruct-gguf:Q4_K_M';
We define the server URL (the “Model Engine”, so for us Docker Model Runner) and the model identifier. The || operator allows using an environment variable if it exists, otherwise we use a default value.
3. Genkit initialization
const ai = genkit({
  plugins: [
    openAICompatible({
      name: 'openai',
      apiKey: '',
      baseURL: engineURL,
    }),
  ],
  model: "openai/"+coderModelId,
  config: {
    temperature: 0.5,
  },
});
We create a Genkit instance with:
- The OpenAI compatible plugin that points to Docker Model Runner
- The Qwen2.5-Coder model we want to use. ✋ IMPORTANT: we prefix the model with
openai/to indicate we’re using the OpenAI plugin. - A temperature of 0.5 (the higher it is, the more creative the responses, but beware of model hallucinations).
4. Interactive conversation loop
let exit = false;

while (!exit) {
  const { userQuestion } = await prompts({
    type: "text",
    name: "userQuestion",
    message: "🤖 Your question: ",
    validate: (value) => (value ? true : "😡 Question cannot be empty"),
  });

  if (userQuestion === '/bye') {
    console.log("👋 Goodbye!");
    exit = true;
    break;
  }

  const response = await ai.generate({
    prompt: userQuestion
  });

  console.log(response.text);
}
This loop:
- Displays a prompt for the user to enter their question
- Checks if the user wants to quit (by typing
/bye) - Sends the question to the model with
ai.generate() - Displays the model’s response
- Starts over until the user types
/bye
Complete code
import { genkit } from 'genkit';
import { openAICompatible } from '@genkit-ai/compat-oai';
import prompts from "prompts";

let engineURL = process.env.ENGINE_BASE_URL || 'http://localhost:12434/engines/v1/';
let coderModelId = process.env.CODER_MODEL_ID || 'hf.co/qwen/qwen2.5-coder-3b-instruct-gguf:Q4_K_M';

const ai = genkit({
  plugins: [
    openAICompatible({
      name: 'openai',
      apiKey: '',
      baseURL: engineURL,
    }),
  ],
  model: "openai/"+coderModelId,
  config: {
    temperature: 0.5,
  },
});

let exit = false;

while (!exit) {
  const { userQuestion } = await prompts({
    type: "text",
    name: "userQuestion",
    message: "🤖 Your question: ",
    validate: (value) => (value ? true : "😡 Question cannot be empty"),
  });

  if (userQuestion === '/bye') {
    console.log("👋 Goodbye!");
    exit = true;
    break;
  }

  const response = await ai.generate({
    prompt: userQuestion
  });

  console.log(response.text);
}
Running the script
To run the script, use the following command in your terminal:
node index.js
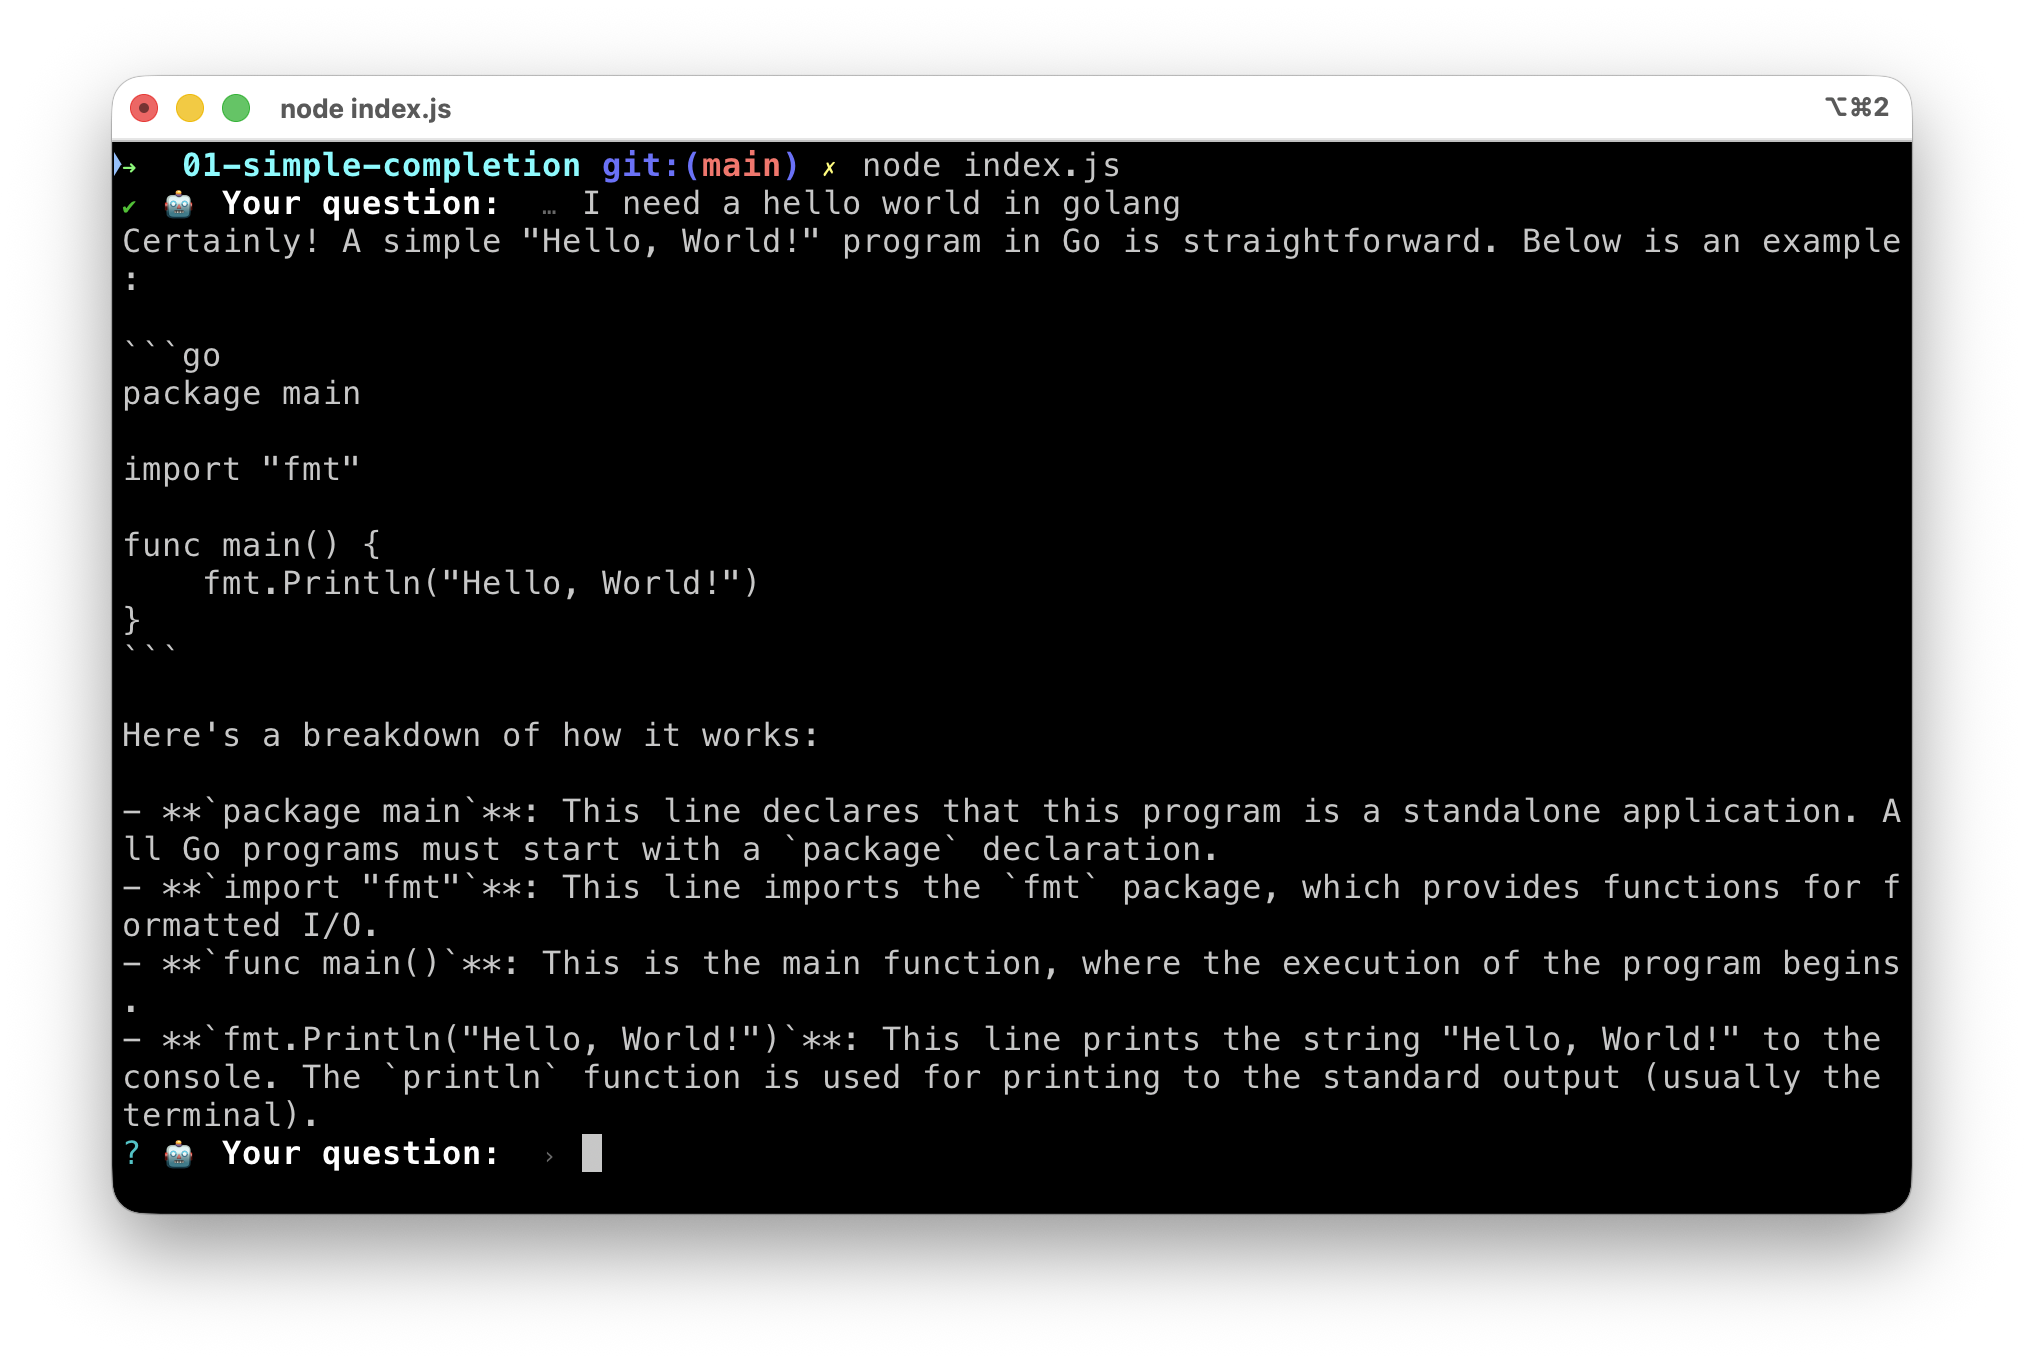
You should see the prompt 🤖 Your question: . You can ask questions about programming, and the Qwen2.5-Coder model will attempt to answer them after a few seconds:
Specifying the model when calling completion
You can specify the model to use when calling ai.generate(), by passing the model parameter:
const response = await ai.generate({
  model: "openai/"+coderModelId,
  prompt: userQuestion,
  config: {
    temperature: 0.5,
  },
});
✋ this way of doing things is practical, especially in cases where you want to use multiple models in the same script.
Complete code with model specification
import { genkit } from 'genkit';
import { openAICompatible } from '@genkit-ai/compat-oai';
import prompts from "prompts";

let engineURL = process.env.ENGINE_BASE_URL || 'http://localhost:12434/engines/v1/';
let coderModelId = process.env.CODER_MODEL_ID || 'hf.co/qwen/qwen2.5-coder-3b-instruct-gguf:Q4_K_M';

const ai = genkit({
  plugins: [
    openAICompatible({
      name: 'openai',
      apiKey: '',
      baseURL: engineURL,
    }),
  ],
});

let exit = false;

while (!exit) {
  const { userQuestion } = await prompts({
    type: "text",
    name: "userQuestion",
    message: "🤖 Your question: ",
    validate: (value) => (value ? true : "😡 Question cannot be empty"),
  });

  if (userQuestion === '/bye') {
    console.log("👋 Goodbye!");
    exit = true;
    break;
  }

  const response = await ai.generate({
    model: "openai/"+coderModelId,
    prompt: userQuestion,
    config: {
      temperature: 0.5,
    },
  });

  console.log(response.text);
}
Now let’s move on to streaming completion mode!
Streaming completion mode
To improve the user experience, we’re going to modify our script to display the model’s responses in real-time, as they’re being generated. This will make the interaction more fluid and pleasant.
To do this, simply replace:
const response = await ai.generate({
  model: "openai/"+coderModelId,
  prompt: userQuestion,
  config: {
    temperature: 0.5,
  },
});

console.log(response.text);
With:
const { stream, response } = ai.generateStream({
  model: "openai/"+coderModelId,
  prompt: userQuestion,
  config: {
    temperature: 0.5,
  },
});

for await (const chunk of stream) {
  process.stdout.write(chunk.text);
}
Adding system instructions
To guide the model and improve the relevance of responses, we’re going to add system instructions. These instructions will help the model better understand the context and user expectations.
So this time, we’ll replace the ai.generateStream() call part with:
const { stream, response } = ai.generateStream({
  model: "openai/"+coderModelId,
  config: {
    temperature: 0.5,
  },
  system: `You are a helpful coding assistant.
  Provide clear and concise answers.
  Use markdown formatting for code snippets.
  `,
  messages: [
    { role: 'user',
      content: [{
        text: userQuestion
      }]
    }
  ]
});

for await (const chunk of stream) {
  process.stdout.write(chunk.text);
}
Using Docker and Agentic Compose to launch our application
To simplify running our Genkit JS application with Docker Model Runner, we’re going to use Docker Agentic Compose. Docker Compose now integrates Docker Model Runner, which makes model management easier. Indeed, if the required model(s) are not present locally, Docker Compose will automatically download them at startup.
This will also allow us to easily manage dependencies and configure our environment in future blog posts.
Dockerfile
Create a Dockerfile file in the same directory as your index.js script with the following content:
FROM node:24-slim

WORKDIR /app
COPY package*.json ./
RUN npm install
COPY *.js .

# Create non-root user
RUN groupadd --gid 1001 nodejs && \
    useradd --uid 1001 --gid nodejs --shell /bin/bash --create-home bob-loves-js

# Change ownership of the app directory
RUN chown -R bob-loves-js:nodejs /app

# Switch to non-root user
USER bob-loves-js
Docker Compose
Create a compose.yml file in the same directory with the following content:
services:
  simple-chat:

    build:
      context: .
      dockerfile: Dockerfile

    # interactive terminal
    stdin_open: true
    tty: true

    models:
      coder-model:
        endpoint_var: ENGINE_BASE_URL
        model_var: CODER_MODEL_ID

models:
  coder-model:
    model: hf.co/qwen/qwen2.5-coder-3b-instruct-gguf:Q4_K_M
Running the application
From now on, to run your application, use the following commands in your terminal:
docker compose up -d
docker compose exec simple-chat node index.js
And to stop the application:
docker compose down
Complete application code
import { genkit } from 'genkit';
import { openAICompatible } from '@genkit-ai/compat-oai';
import prompts from "prompts";

let engineURL = process.env.ENGINE_BASE_URL || 'http://localhost:12434/engines/v1/';
let coderModelId = process.env.CODER_MODEL_ID || 'hf.co/qwen/qwen2.5-coder-3b-instruct-gguf:Q4_K_M';

const ai = genkit({
  plugins: [
    openAICompatible({
      name: 'openai',
      apiKey: '',
      baseURL: engineURL,
    }),
  ],
});

let exit = false;

while (!exit) {
  const { userQuestion } = await prompts({
    type: "text",
    name: "userQuestion",
    message: "🤖 Your question: ",
    validate: (value) => (value ? true : "😡 Question cannot be empty"),
  });

  if (userQuestion === '/bye') {
    console.log("👋 Goodbye!");
    exit = true;
    break;
  }

  const { stream, response } = ai.generateStream({
    model: "openai/"+coderModelId,
    config: {
      temperature: 0.5,
    },
    system: `You are a helpful coding assistant.
    Provide clear and concise answers.
    Use markdown formatting for code snippets.
    `,
    messages: [
      { role: 'user',
        content: [{
          text: userQuestion
        }]
      }
    ]
  });

  for await (const chunk of stream) {
    process.stdout.write(chunk.text);
  }

}
That’s the end for today!
So we have an interactive chat application using Genkit JS and Docker Model Runner with the Qwen2.5-Coder model. I’ll let you play with it. Next time we’ll see two things:
- Managing the agent’s conversational memory (conversation history)
- Using Devcontainers together with Docker Model Runner and Agentic Compose for a complete and reproducible development environment.